
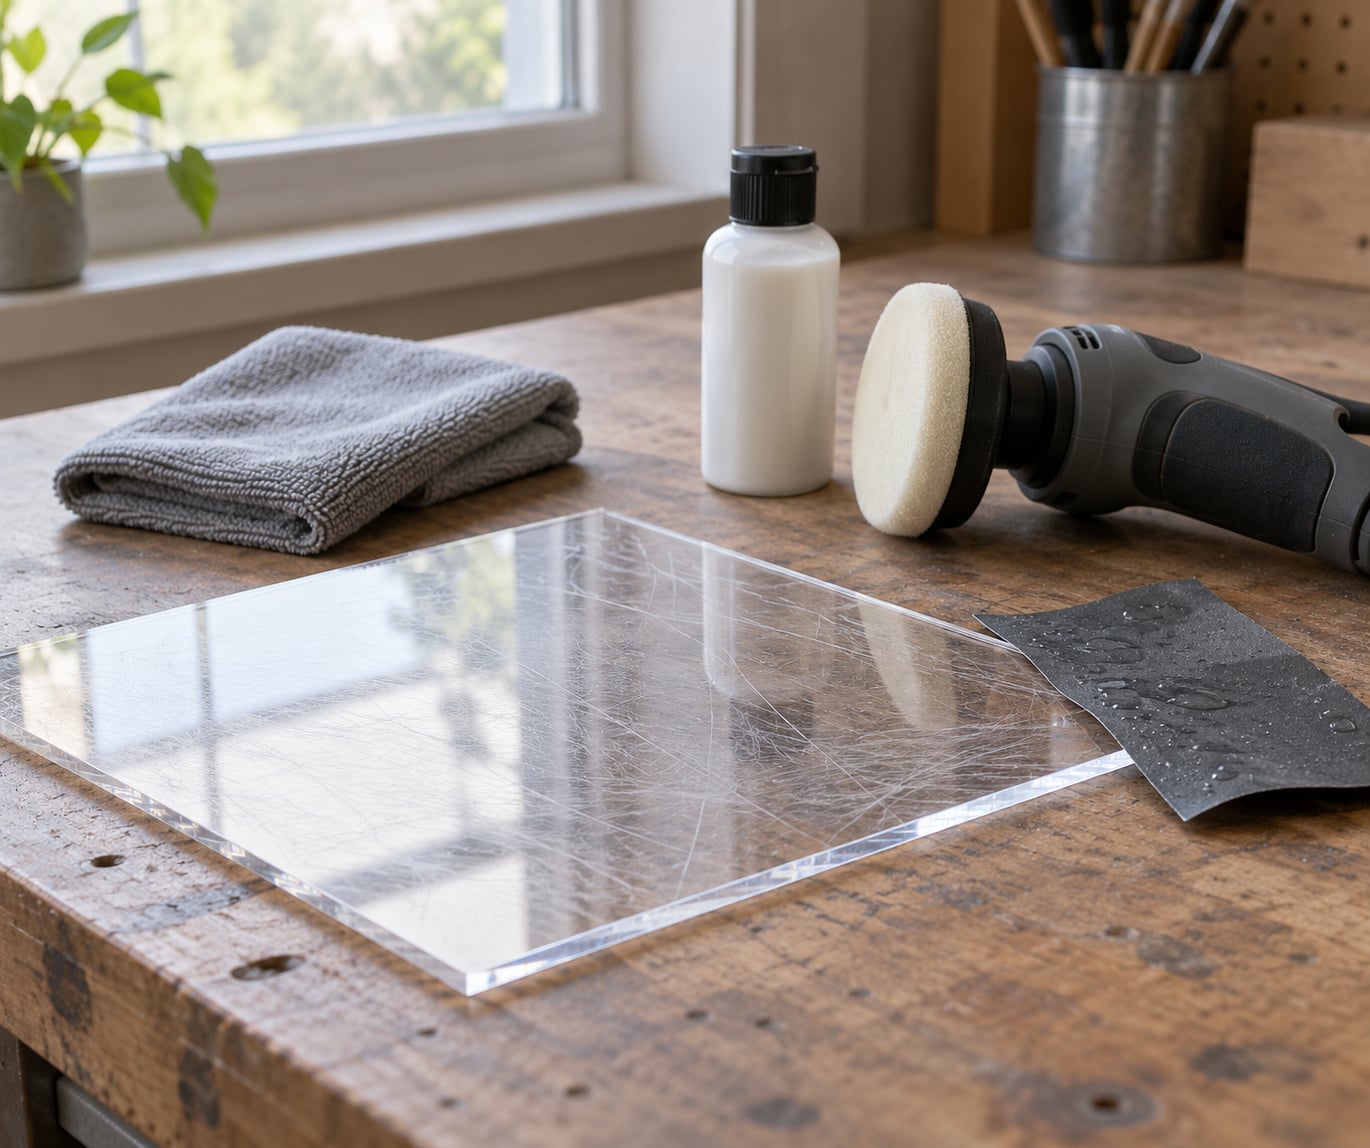
How to remove scratches from clear plastic comes down to one variable: how deep the damage goes. Light haze and scuffs disappear with a plastic polish and a microfiber cloth in a few minutes, while deeper marks need a finer abrasive followed by polish, and anything cracked or actually gouged needs replacing. Most light jobs take under ten minutes with almost no risk; wet sanding is a slower weekend task.
The mistake I see most often is people reaching straight for the strongest compound they can find, which turns a scratch nobody would have noticed into a flat spot everybody can see. Work mildest-first and stop as soon as the defect stops improving.
Table of Contents
- What You Need
- Step-by-Step
- Frequently Asked Questions
- Can you really remove scratches from acrylic or polycarbonate?
- What grit should I use when sanding scratches out of clear plastic?
- Will heat remove scratches from clear plastic?
- Does toothpaste work for scratches on clear plastic?
- How do you tell the difference between a scratch and stress whitening?
- When should a scratched clear plastic part be replaced instead of repaired?
- Start With the Mildest Method That Fits
What You Need
There are three repair routes, and picking the right one before you start saves you from sanding a part that only needed a polish. Plastic polishing compounds handle haze, scuffs and hairline marks. A rotary tool with foam pads handles larger areas and machine-finished surfaces. A professional repair service takes anything with a crack, a stress-whitened edge, or a deep gouge you would rather not own on a Sunday.
Identify the plastic first
Acrylic (sold as plexiglass or perspex), polycarbonate (sold as Lexan or Makrolon), ABS, and vinyl all scratch, but they do not polish the same way. Acrylic polishes back to clarity quite readily. Polycarbonate is tougher and tends to haze under abrasion instead, so it needs lighter pressure and more patience. Coated or laminated clear plastic has a hard surface film, and polishing can cut straight through it to the soft layer underneath.
Most fabricators can identify the resin from a drawing, a purchase record, or the marking moulded into the edge of the part. If you are choosing a material for a new part, our guide on how to choose a plastic for UV exposure covers the tradeoffs that also show up during scratch repair.
Inspect the damage under good light
Hold the part up to a window or a bright lamp and turn it slowly. Run a fingernail across the mark: if your nail catches in it, it is deeper than a surface scuff and needs sanding or a fabricator. If the mark only shows as a soft white haze under angled light, polish alone will do it.
Clean before you touch it
Dirt, dust and plasticizer residue all look like scratches under low light. Wash with lukewarm water and a drop of mild dish soap, rinse, and dry with a clean microfiber cloth. Cleaning first also stops you grinding loose grit into the surface during later passes.
Match the method to the damage
| What you see | Best first move | Typical effort |
|---|---|---|
| Light scuffs and haze | Plastic polish and a microfiber cloth | A few minutes |
| Hairline scratches | Polish, then a finer polish if needed | 10 to 20 minutes |
| Deeper scratches that catch a fingernail | Wet sanding through a progressive grit sequence, then polish | An hour or more |
| Cracks, embedded contamination, cloudy or coated surfaces | Fabricator or replacement | Days, sometimes weeks |
Step-by-Step
Identify the plastic and test the repair area
Take a scrap offcut of the same material, or an area that will be hidden by a bezel or trim, and apply the product you plan to use. Leave it for the full working time, then look at it under angled light. If the test spot is unchanged and undamaged, the product is compatible. If it turns greasy, dulls the surface, or leaves a film, wipe it off now and pick something else.
Skipping this test is how people end up with a permanently hazy patch where a scratch used to be. It costs three minutes.
Clean and prepare the scratched surface
Wash, rinse and dry as described above. Mask anything adjacent with low-tack tape or a paper border, since compound smears easily and abrasive work throws dust. Support the part on a flat padded surface so pressure goes straight down rather than through a thin panel that can flex and crack.
Avoid unverified solvents, abrasive household cleaners like scouring pads, and any amount of heat on a stressed part. If the plastic has taken an impact, the internal stresses may already be released into a white bloom, and heat or pressure will spread it. Understanding how that happens helps if you are also seeing what causes brittleness in plastic parts.
How to remove scratches from clear plastic with the right method
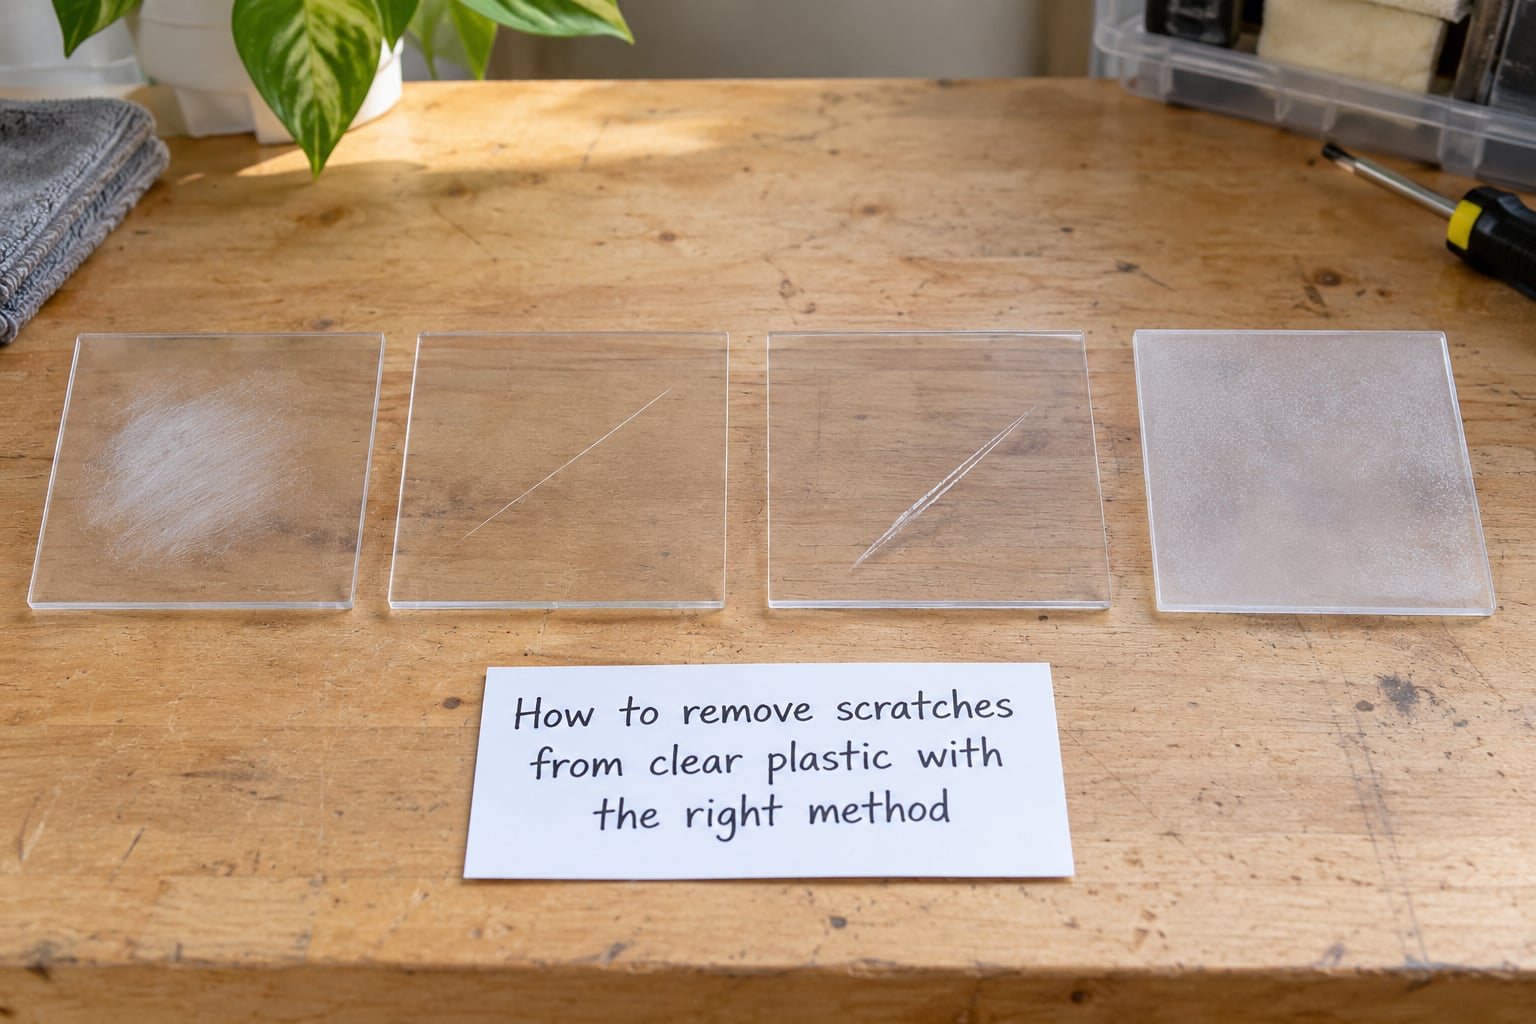
For haze and light scuffs: apply a plastic polishing compound in small dots, work it in with a clean microfiber cloth in straight lines rather than tight circles, and wipe with a clean section of cloth before it dries. Straight-line motion keeps you from creating swirl marks you cannot see until the part is under direct light.
For moderate scratches: move up to an abrasive, and always wet. Start around 800 grit for acrylic, work up through 1200, 1500, 2000 and 3000, keeping the surface wet the whole time. Each grit takes longer than the last and needs less pressure. Then finish with polish to bring the gloss back. Never jump grit steps: 800 straight to 2000 leaves its own scratches, and they are the ones that show under a lamp.
For larger areas and production parts: a rotary tool with a foam pad over a lambswool bonnet spreads the compound evenly and keeps heat down. Keep it moving, keep the pad flat, and lift it off the surface every few seconds. Run it cool and light. Large flat panels and boat or aircraft-style windows are the usual candidates for this approach.
Wet sanding is the right call when the scratch catches a fingernail and the part is a flat sheet with enough thickness to spare. It is the wrong call on a thin curved visor, a watch crystal, a coated lens, or anything already showing stress whitening, because you will take the shape and the coating with you.
Deep gouges have a limit. Sanding levels the surface around a scratch; it cannot fill one that runs to the edge or sits under a printed layer. Once you are past a few thousand grit and the mark is still there, the part is cheaper to replace than to keep working.
Inspect the result and restore the surface finish
Look at the repair under diffuse light, not under a bare bulb, and compare it with an untouched area of the same part. Wipe off all compound residue and let the surface cool fully, because a warm surface hides what you will see later.
Stop after one or two careful passes once the scratch stops becoming less visible. More passes at that stage only enlarge the flat area and can leave a visible halo around a lens or window.
Some marks are not scratches at all. Stress whitening is a network of micro-cracks inside the material and it does not sand out. Contamination under the surface is dirt embedded during moulding and needs professional work. Coating damage shows as a dull, uneven patch that polishing makes worse. If the part is dimension-critical, remember that polishing always removes material, so plastic part tolerance standards explained matters before you touch a fitting surface.
Common Mistakes
- Skipping plastic identification. Fix: test the product on a hidden offcut and confirm the surface is unchanged.
- Using automotive glass or car polish. Fix: use a compound specified for plastic. Automotive versions carry abrasive levels tuned for glass and will haze clear plastic quickly.
- Making coarse abrasions. Fix: change grit only when the previous stage no longer leaves visible marks, and wet every abrasive pass.
- Applying excessive heat or pressure. Fix: keep the tool moving, keep the pad flat, and lift it off the plastic regularly.
- Sanding aggressively. Fix: light, even pressure. You are removing microns per pass, not millimetres.
- Polishing before the surface is clean. Fix: wash and dry first, because grit under the pad scratches in straight lines.
- Expecting deep scratches to vanish. Fix: decide early whether the part is worth the effort, and stop when two passes produce no further improvement.
Stop and ask a fabricator when the part is a safety item, a pressure-holding window, an optical lens with a coating, or anything with a crack running away from the scratch. Those are cheap conversations and expensive mistakes.
Frequently Asked Questions
Can you really remove scratches from acrylic or polycarbonate?
Yes, mostly. Acrylic polishes back to near-original clarity, and scratches that do not catch a fingernail can usually be cleared with plastic polish alone. Polycarbonate is harder: it hazes under abrasion, so results depend on how deep the damage goes. Deep gouges, cracks and coating damage cannot be polished out and need a fabricator or a new part.
What grit should I use when sanding scratches out of clear plastic?
Start around 800 grit for acrylic and work up in steps through 1200, 1500, 2000 and 3000, keeping the surface wet. Move to the next grit only when the current stage stops leaving visible marks. Jumping straight from coarse to fine leaves its own scratches that only appear under bright light. Polycarbonate needs lighter pressure and fewer passes than acrylic.
Will heat remove scratches from clear plastic?
Heat can make a surface scratch temporarily less visible as the plastic softens and closes the groove, but it does not repair anything. On thin sheets the same heat warps the part, and on stressed or impact-damaged plastic it spreads stress whitening across a much larger area. If you use any heat at all, keep the part supported and move constantly. Polishing is the safer route.
Does toothpaste work for scratches on clear plastic?
Non-gel toothpaste can take out very light surface scuffs because the mild abrasive levels the haze. It is not reliable on anything deeper, and gel formulas contain no abrasive at all. It also leaves a residue that traps dust. For real scratch removal, a plastic polishing compound works far better and gives a more even finish.
How do you tell the difference between a scratch and stress whitening?
A scratch sits on the surface and catches your fingernail. Stress whitening is a web of micro-cracks inside the material, usually near an impact point or a drilled hole, and it does not catch. Under angled light a scratch keeps a defined line, while whitening looks like a milky cloud spreading out from a centre point. Whitening cannot be sanded out and needs annealing or replacement.
When should a scratched clear plastic part be replaced instead of repaired?
Replace it when the scratch runs the length of the part, when it catches a fingernail deeply, when there is any crack or stress whitening, or when the surface is coated or laminated. Also replace optical or safety-critical parts rather than polishing them. If two careful sanding and polishing passes stop producing improvement, the repair is no longer worth the material and the risk.
Start With the Mildest Method That Fits
Clean the part, confirm what it is made of, and try plastic polish on a hidden spot first. If the scratch stops catching your nail as you work, you are on the right path and two or three polishing passes will usually finish it. Move up to wet sanding only when polish cannot touch the result, and replace the part when there is a crack, a coating, or no improvement after two passes.