
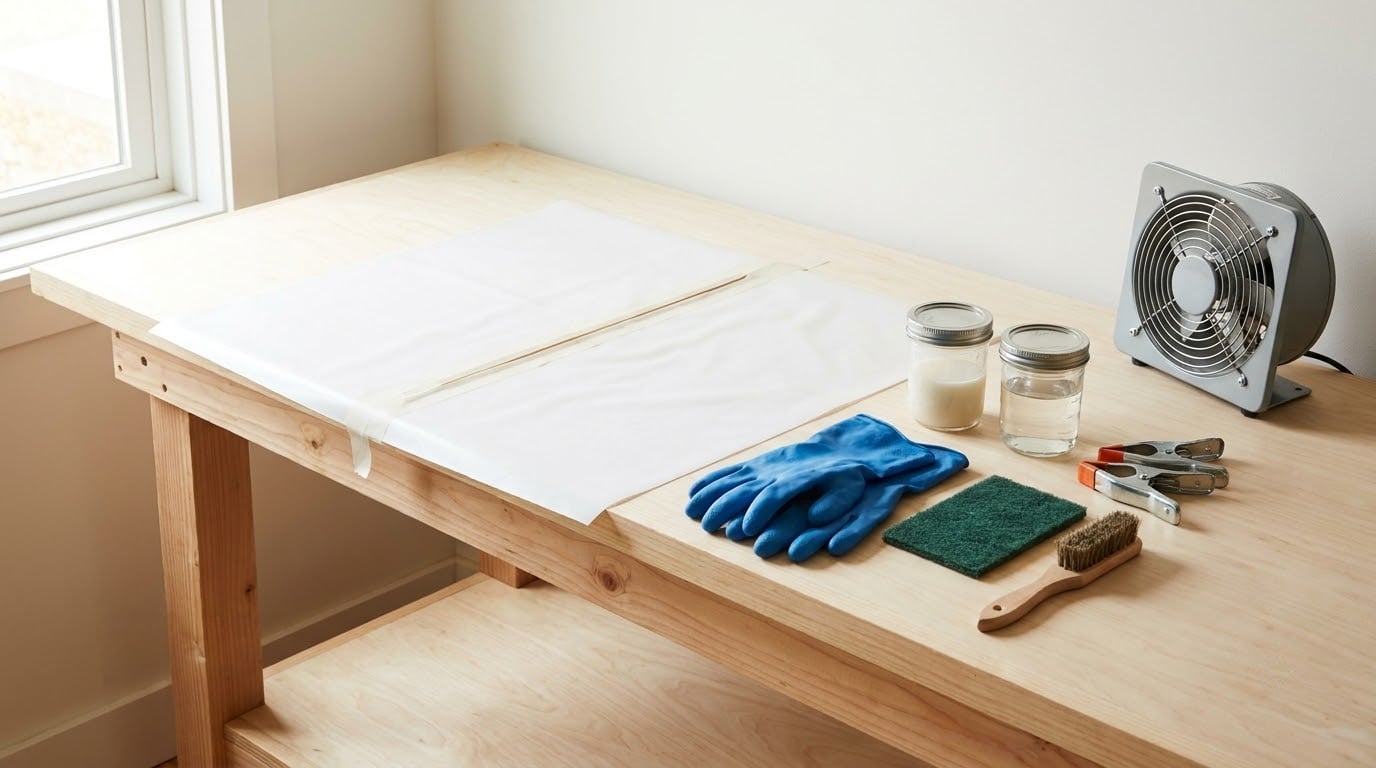
You cannot glue untreated polypropylene with an ordinary adhesive. PP is a non-polar polyolefin with a surface energy typically below 30 dyn/cm, so glues bead up instead of wetting it, and the joint fails later. The fix is to change the surface first with a polyolefin primer or flame treatment, then bond with an adhesive chemistry built for polyolefins. Budget about 30 minutes of active work plus overnight cure.
That single physics fact explains almost every failed polypropylene repair I have been asked about. People apply super glue, two-part epoxy or a polyurethane construction adhesive straight from the bottle, the adhesive hardens into a bead sitting on top of the plastic, and the joint peels apart a day later. Nothing actually adhered.
If you want the chemistry behind a specific joint rather than a product roundup, start with the adhesive selection guide for plastic assemblies and pick the family that matches your load case.
What You Need
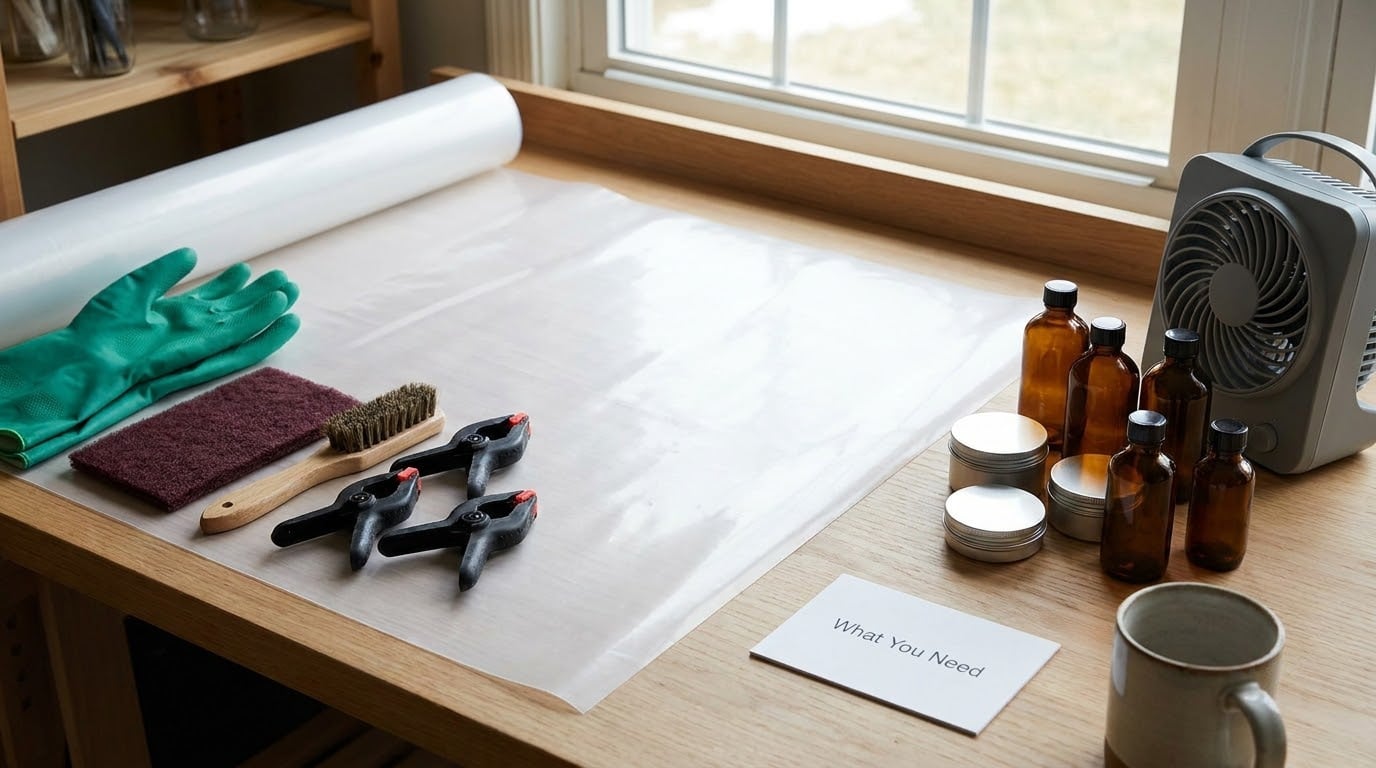
Gather everything before you touch the part. Most PP bonds fail because the job stalled halfway and the prepared surface got dirty or skin-dried again.
- A polyolefin primer or adhesion promoter. Solvent-based polyolefin primers come as a separate small bottle or a pre-applied pen. Chlorinated primers work well; waterborne polyolefin primers avoid the solvent fumes but need a longer flash-off.
- An adhesive compatible with polyolefins. A methacrylate structural acrylic such as 3M Scotch-Weld DP8005, a primer-activated polyurethane such as Sika Primer-518 PP paired with a silane-terminated polymer adhesive, or a two-part epoxy designed for polyolefins. Names matter less than the datasheet language that says polypropylene.
- Isopropyl alcohol and lint-free wipes for degreasing.
- Abrasive at 120 to 220 grit. Scouring pads work for flat panels; a rotary sander with a scrim strip is faster on large faces.
- Brush or glue gun for controlled application, plus toothpicks and a mixing palette if you are using two-part epoxy.
- Clamps, tape and a non-marring jaw material so you can hold pressure without crushing or distorting the part.
- Local exhaust or a ventilation fan plus solvent-resistant nitrile gloves and safety glasses.
- Test coupons. Offcuts of the same material, roughly 25 x 25 mm, so you can validate the process before touching the real part.
A torch or propane treatment pen is optional and only relevant if you want the flame route described later. It is a legitimate workshop option for one-off repairs, but it is not the first thing I reach for because it is easy to scorch thin parts.
If the part is going into a vehicle interior, a cargo van build or an RV, the material underneath is often not neat PP. Glass fibre reinforced PP and PP-GF honeycomb panels bond differently because the glass fibre gives the surface something polar to key into, which relaxes the primer requirement. Our guide to selecting a plastic for chemical resistance covers how the resin choice affects long-term service.
Step-by-Step
How to Glue Polypropylene Plastic Without Weakening the Part
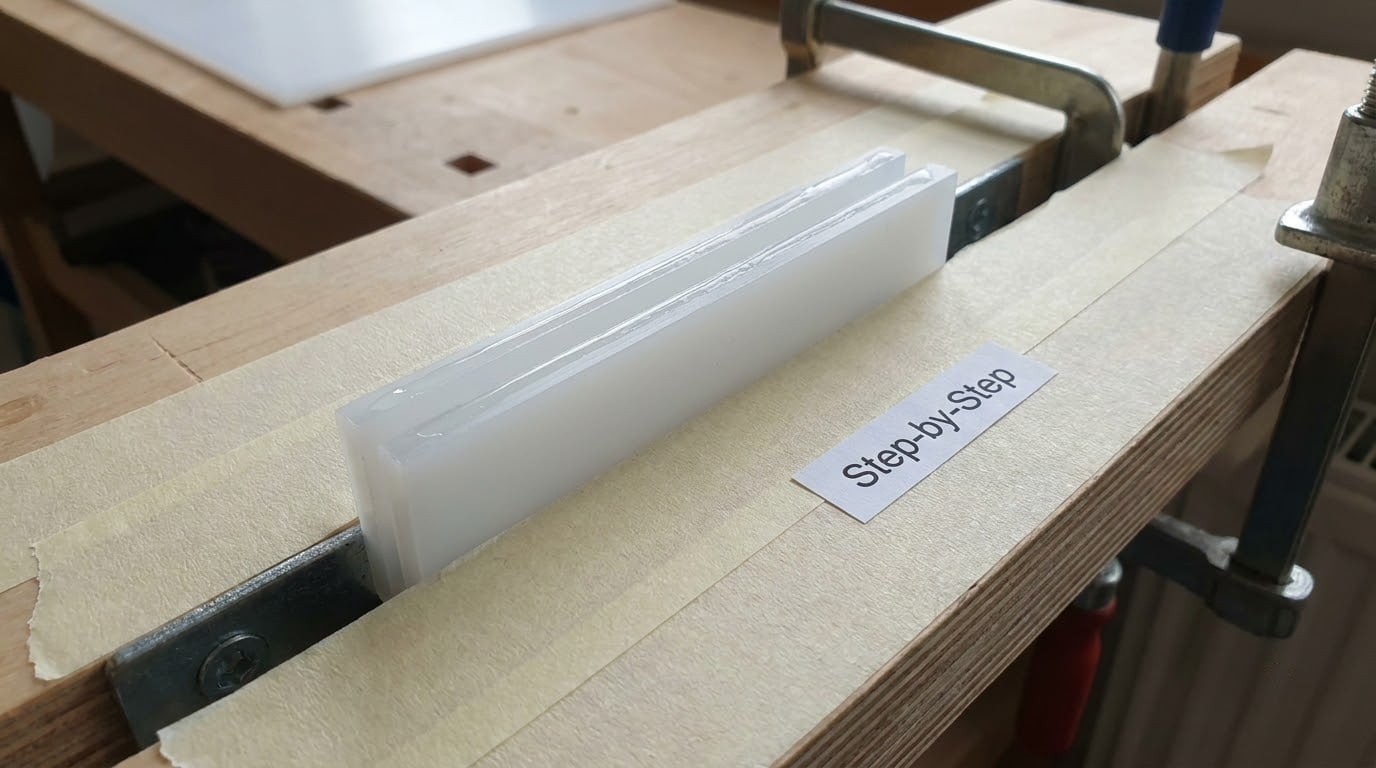
The adhesive chemistry has to match the joint, and matching it correctly is what keeps the part from becoming the weakest link. Every PP bonding process that works in production shares one rule: surface activation first, adhesive second.
Three families do the job well. Methacrylate structural acrylics tolerate a thin bond line, cure fast and handle shear well, which makes them the usual choice for PP panels and vehicle trim. Primer-activated polyurethane systems spread stress and damp vibration, so they suit parts that flex. Two-part epoxies fill gaps and resist heat and chemicals, but only the ones formulated for polyolefins should touch untreated PP, and they still work best over a primer.
Ordinary solvent cement and all-purpose plastic cement are the wrong answer. PP has no polar groups for a solvent to attack, so the classic solvent-weld trick that works on ABS or PVC simply does nothing here. Anyone following a generic plastic-repair guide will fail on the same step. When you compare adhesive families for a broader job, our impact resistance testing walkthrough shows how to qualify a candidate before it goes into a load-bearing joint.
How to Prepare Polypropylene for a Strong Bond
Start by confirming the resin. PP has a slightly flexible, slightly waxy feel and a faint natural fibre pattern on moulded parts; many containers are stamped with a resin code. A float test helps: PP sinks in water while polyethylene floats. A flame test is more definitive but produces fumes, so do it outdoors with water available.
Then run the seven steps. The names and the numbers matter, because this is the sequence that separates a joint that holds for years from one that fails in a week.
- Clean. Wipe both bonding faces with isopropyl alcohol and let them dry fully. Oil, dust and release agent are the most common reasons a properly primed joint still peels.
- Scuff. Abrade the bonding area with 120 to 220 grit until it reads as a uniform matte scuff with no gloss. Keep the scratch pattern even, and do not sand past the flat plane. Sanding too deep creates a recess the adhesive cannot fill.
- Prime. Apply a thin, continuous coat of polyolefin primer to both faces. One even coat beats two heavy coats, and thick runs of primer dry into a brittle layer that peels off as a film.
- Flash off. Let the primer dry 30 to 60 seconds. It should feel tacky or slightly damp, not wet. Applying adhesive over a wet primer dilutes it and is a top cause of failure. If you miss the window and the primer dries fully, apply a second thin coat.
- Dispense. Lay a continuous bead of adhesive along one face. A glue gun gives a controlled line; a toothed spreader helps on wide panels. Avoid dotted beads, which leave dry spots inside the joint.
- Clamp and press. Bring the parts together within the open time, align them, and hold at least 30 seconds with steady clamp pressure. The goal is joint contact, not squeezing out adhesive. Aim for a bond line around 0.1 to 0.25 mm; thick glue lines cure slower and read as stress concentrators.
- Cure. Leave it clamped and undisturbed for 12 to 24 hours before handling, and give it 24 to 72 hours before loading the joint. Handling strength and full cure are not the same thing, and the difference is where most impatience shows up.
Verify on your coupons before the real part. Bond two offcuts, pull them apart after full cure, and look at the failure. If the adhesive stays intact and the PP tears or stretches, the bond outlasted the substrate, which is the best result you can get. If the two faces separate cleanly, something in your prep is wrong.
Now the honest part. For many PP parts, welding beats glue. Hot-air plastic welding with a PP welding rod, extrusion welding for thick sections, and vibration or laser welding on production lines all create a joint that is the same material as the part. If you are repairing a structural bracket or a container that must handle impact, consider welding before you buy adhesive. Mechanical fastening with rivets, screws and washers is the other honest option, and a properly spaced screw pattern on a PP part often outperforms an adhesive joint in peel and impact.
Flame treatment is the fourth route, and it is the one people are most curious about. For a workshop repair, sweep a propane torch flame across the scuffed surface in a single controlled pass, moving steadily so no spot dwells long enough to char, then quench the part in water to stop the heat. The pass raises the surface energy and leaves a slightly oxidised skin that wets readily. Wear heat-resistant gloves, work outside or under extraction, and expect polypropylene to shrink slightly. Flame treatment on thin parts or textured panels tends to distort them, which is why primers are the safer default.
Common Mistakes
Almost every failed polypropylene bond traces back to one of these. Work down the list in order when a joint lets go.
Bonding without confirming the resin. Polyethylene, PP and ABS feel similar but respond completely differently, and solvent-welding attempts on PE or PP do nothing at all. Identify the material first, then choose the adhesive.
Skipping surface preparation. A glossy, untouched PP face will not bond. Scuff to a uniform matte finish and prime both faces, every time, including the second face that gets hidden inside the joint.
Applying adhesive before the primer flashes off. Wet primer dilutes the adhesive and the promoted surface never forms. Respect the 30 to 60 second window.
Using a product labelled for all plastics. Products marketed to bond everything typically exclude polyolefins in the fine print. Check the datasheet for an explicit polypropylene rating rather than trusting the front of the bottle.
Disturbing the joint during cure. A finger readjustment a few minutes in can shear a bond that has not developed handling strength. Clamp it and leave it alone.
Under-clamping or over-clamping. Too little pressure leaves a gap. Too much squeezes out the adhesive and can distort thin PP panels. Steady, moderate, even pressure is the goal.
Stressing the joint in peel. Adhesives are strong in shear and weak in peel and cleavage. Design the joint as a lap or butt joint, add a fillet or a stiffener rib where a corner would otherwise flex, and peel the load away from the bond rather than across it. If you cannot change the geometry, add mechanical reinforcement instead of a stronger adhesive.
Expecting a quick fix to be structural. Hot glue and a quick touch of cyanoacrylate can hold a light piece together. They should not be asked to carry a load, and forum repairs built that way rarely survive a knock.
A note on white stress marks around the joint: that whitening is crazing in the PP itself, which means the joint is under stress the substrate cannot handle. Filling the crack with more adhesive does not fix it. Change the joint design or add a fillet so the load path runs through shear rather than through a sharp corner.
Frequently Asked Questions
What glue works best on polypropylene plastic?
A methacrylate structural acrylic paired with a polyolefin primer is the most reliable general-purpose choice, because it handles shear well, cures fast and tolerates a thin bond line. For parts that flex or see vibration, a primer-activated polyurethane system such as Sika Primer-518 PP with a silane-terminated polymer adhesive absorbs stress better. Whichever chemistry you pick, the datasheet has to name polypropylene explicitly and the surfaces must be primed.
Can I use super glue to bond polypropylene?
Not reliably. Standard cyanoacrylate adhesives are tested on polar plastics like ABS and PVC, and PP simply does not wet. Some polyolefin-compatible CA formulations exist and do work when used with a matching activator primer, so read the label rather than the category. Applying ordinary super glue to PP gives you a hard bead that sits on the surface and peels away, usually within days.
How long does polypropylene glue take to cure?
Handle the joint only after 12 to 24 hours, and wait 24 to 72 hours before loading it. Flash-off on the primer is faster, typically 30 to 60 seconds. Structural acrylics reach handling strength in minutes, but the full cure that gives you lap shear strength develops slowly at room temperature. Full cure takes longer in cold, humid conditions, so resist the urge to test the joint early.
Is epoxy safe for polypropylene?
Two-part epoxy is safe in the sense that it is durable and chemically resistant, but most general-purpose epoxies will not adhere to untreated PP. You need an epoxy or epoxy-modified adhesive formulated for polyolefins, used over a primer or after flame treatment. A low-viscosity epoxy is better here because it wets the scuffed surface and can hold a tight bond line without needing thick glue.
Can polypropylene plastic be solvent-bonded?
Not by the standard solvent-welding method used on PVC or ABS. Polypropylene is non-polar and resists the solvents that swell other plastics, so a cement simply beads up. With a specialised polyolefin-compatible solvent and a properly prepared surface some bonds are possible, but in practice the primer route or plastic welding gives far more consistent results and is what workshops should use.
How do I make a polypropylene repair stronger?
Strength comes from joint design before it comes from adhesive. Use a lap or butt joint instead of a butt joint with a sharp edge, add a fillet or stiffener rib to spread the load, and keep the bond line around 0.1 to 0.25 mm. Reinforce with fasteners or welded patches when the load is impact or peel driven, and finish with a coupon test to confirm the joint is stronger than the substrate.
Conclusion
Four things decide whether a polypropylene repair holds. Confirm the resin is PP and not PE or ABS, pick an adhesive whose datasheet names polypropylene, prepare both faces properly with 120 to 220 grit abrasion and a polyolefin primer, then give the joint the full manufacturer-recommended cure before you load it.
If the joint carries real load, look past glue. Plastic welding or a properly spaced fastener pattern usually beats any adhesive on a structural PP part, and it takes less process control to get right.