
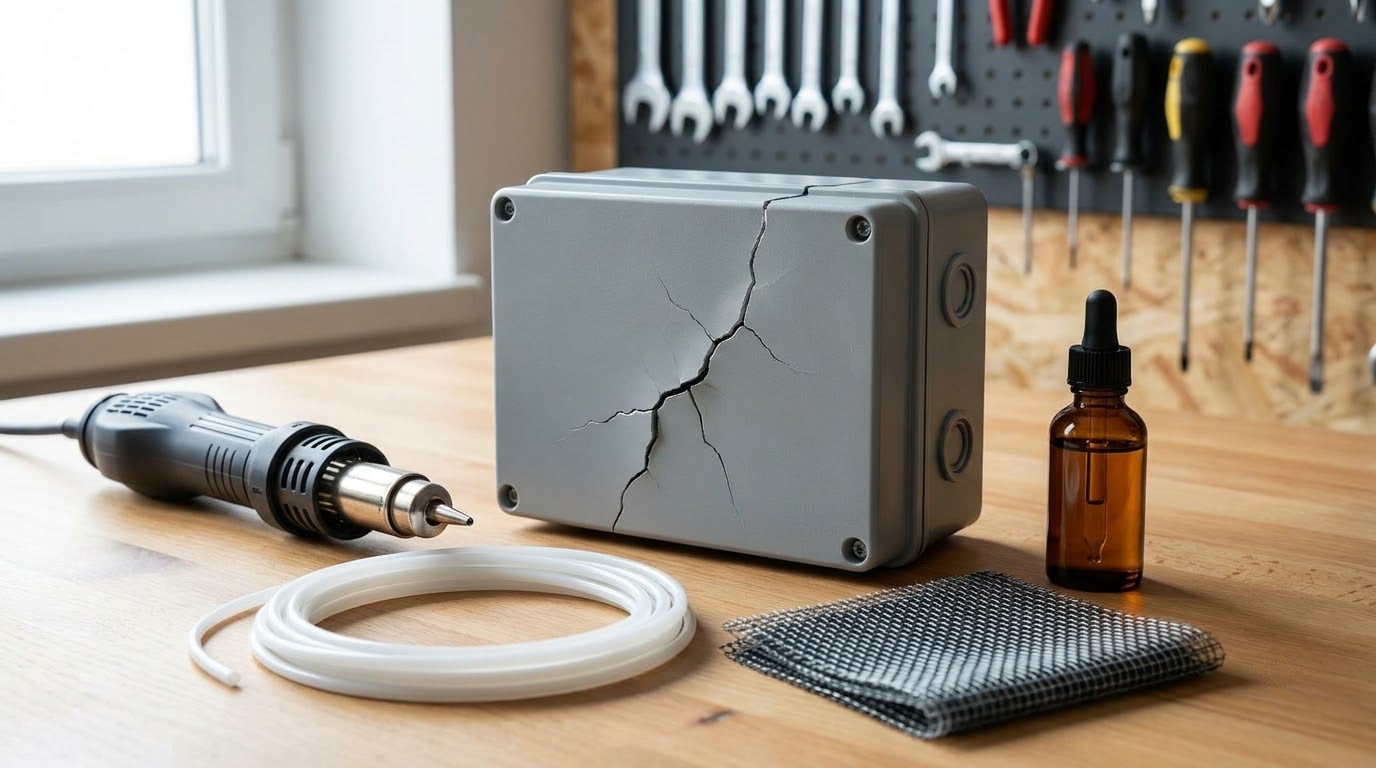
Cracked plastic can be fixed, and the method that holds depends almost entirely on what the plastic is and what the joint has to carry. Heat and compatible chemistry let you rejoin a split housing, bucket, bumper, or clip without buying a new part, and a properly done weld or solvent bond is usually stronger than the original moulded seam.
Learning how to repair cracked plastic takes about an afternoon the first time, more if you have to buy a soldering iron and a tube of matching filler rod. The whole job comes down to four things: identify the resin, clean and roughen the surfaces, stop the crack from running further, and use a bonding method that actually attacks that resin.
Table of Contents
What You Need
The single most useful item on this list is information, not hardware. Nine out of ten failed plastic repairs I have seen came from bonding a surface with an adhesive that has nothing to grip, and the fastest way to avoid that is a minute of identification before you open any packaging.
Start by looking for the resin identification code, the triangle of arrows with a number from 1 to 7 moulded into the part, usually on the base or the back of a housing. That number tells you the polymer family and removes most of the guesswork.
For the job itself, gather the following:
- Cleaning supplies: isopropyl alcohol, cotton swabs, a stiff brush, and lint-free wipes. Any grease, oil, mould release agent, or hand lotion left on the surface will stop an adhesive from wetting it.
- Abrasion: 80-grit sandpaper to open the surface and give the bond something mechanical to hold onto, 120-grit to tidy up afterwards, and a rotary tool with a sanding drum for tight curves.
- Bonding options: a two-part epoxy, a plastic-bondering adhesive formulated for your specific resin, cyanoacrylate for small rigid parts, solvent cement for PVC and ABS pipe work, and plastic repair filler putty for missing sections.
- Heat options: a soldering iron or hot-air rework station, plastic welding rod matched to the part, and a scrap offcut of the same plastic. Melted zip-tie ends and 3D printer filament of the same resin work as cheap substitutes when you have nothing on hand.
- Reinforcement: woven fiberglass cloth, stainless steel mesh, an aluminium or plastic backing plate, small stainless screws or rivets, and clamps or tape to hold a joint square while it cures.
- Safety gear: nitrile gloves, eye protection, and somewhere with real ventilation. Heating plastic gives off fumes, and the solvents used for chemical welding are flammable.
Beyond the gear, decide what the repair has to do. Cosmetic means it just has to look right on a shelf. Structural means it carries load or impact. Pressure-resistant means it holds water, air, or fuel. Food-safe and medical-contact repairs are a different category entirely, and those belong with a qualified specialist rather than a garage bench.
If you are still working out which chemistry to reach for, our Adhesive Selection Guide for Plastic Assemblies breaks the resin families down by bonding mechanism.
How to Repair Cracked Plastic Step by Step
1. Identify the Plastic and Check Whether It Is Safe to Repair
Find the recycling code first. Number 1 is PET, 2 is HDPE, 3 is PVC, 4 is LDPE, 5 is PP, 6 is polystyrene, and 7 is polycarbonate or acrylic. If the code is missing, a drop of water test separates polyolefins from the rest: HDPE and PP bead up and float, while ABS, polycarbonate, and PVC sink or hang on edge.
A solvent test settles most arguments. Acetone and plastic-model cement will soften and mark ABS in a few seconds. If neither affects the surface after a minute, you are probably holding a polyethylene or polypropylene part, which almost nothing in a hardware store will bond to. That single test saves an hour of guessing. If you want to understand why a part failed in the first place, read what causes brittleness in plastic parts.
Some cracks should not be repaired at all. A crack through a threaded boss, a pressure vessel wall, a fuel line, a safety harness mount, or a load-bearing structural bracket has already done the damage it was going to do. So has plastic that has gone brittle and crazed across a wide area, or a part that delaminated internally, where the damage runs well past what you can see.
2. Clean and Prepare the Crack
Wash the area with warm water and detergent, then degrease it with isopropyl alcohol and let it dry fully. Skip this on a surface with a heavy scratch texture, where alcohol will just push grime deeper.
Clear the crack itself with a sharp knife or a small file so no loose material bridges the gap. Next, drill a small hole at each end of the crack, roughly the diameter of the crack itself. These stop holes give the stress somewhere to go besides running further into the wall, and they are the single most skipped step in amateur repair work.
Where the joint needs to carry real load, cut a shallow V-groove along the crack with a rotary tool. A 60 to 90 degree groove that takes out about half the wall thickness gives the filler somewhere to sit. Stop as soon as you feel the tool bite into healthy material, because over-widening leaves you with a bigger hole to fill and less material to carry the load.
Sand the surfaces where the bond will sit. Eighty grit gives a mechanical tooth, 120 grit smooths it after the groove work. Wipe again with alcohol and keep fingers off the prepared area.
3. Choose the Right Repair Method
Match the method to the resin and the duty. Chemical welding dissolves the surface slightly so it fuses with matching plastic, which makes it the strongest option when it is available. Heat welding melts filler into a groove and suits hard rigid parts of nearly any thermoplastic. Adhesives bridge the gap without touching the chemistry, which is faster but never stronger than the parent material alone.
| Method | Best For | Relative Strength | Cure Time |
|---|---|---|---|
| Solvent cement or ABS slurry | ABS, PVC, polystyrene, acrylic | Highest, can exceed the parent part | Several minutes to 24 hours |
| Plastic welding with filler rod | Hard rigid thermoplastics, large or missing sections | Very high with a full groove and reinforcement | Cool-down only, 10 to 20 minutes |
| Heat reshaping in hot water | Thin, small parts, minor cracks, tabs | Low to moderate, cosmetic | Minutes |
| Two-part epoxy | Mixed resin families, general structural work | High across the joint, rigid | 24 to 48 hours |
| Plastic-bondering adhesive | Rigid plastics matched to the adhesive | High, gap-filling | Listed on the tube, often 8 to 24 hours |
| Cyanoacrylate | Small rigid non-critical parts, assembly | Brittle, poor on flexing joints | Seconds to a minute handling, 24 hours full |
| Mechanical reinforcement | Loaded joints, mounting points, tabs | Highest when the substrate is cracked | Follows the fastener compound |
Two methods fail on their own and need a partner. Heat reshaping only closes a gap; it never reinforces one. Cyanoacrylate is fast but brittle, so it should never be the only bond on something that flexes. If the joint moves, back it with mesh or cloth and a fastener rather than adding more glue.
4. Apply the Repair and Reinforce the Joint
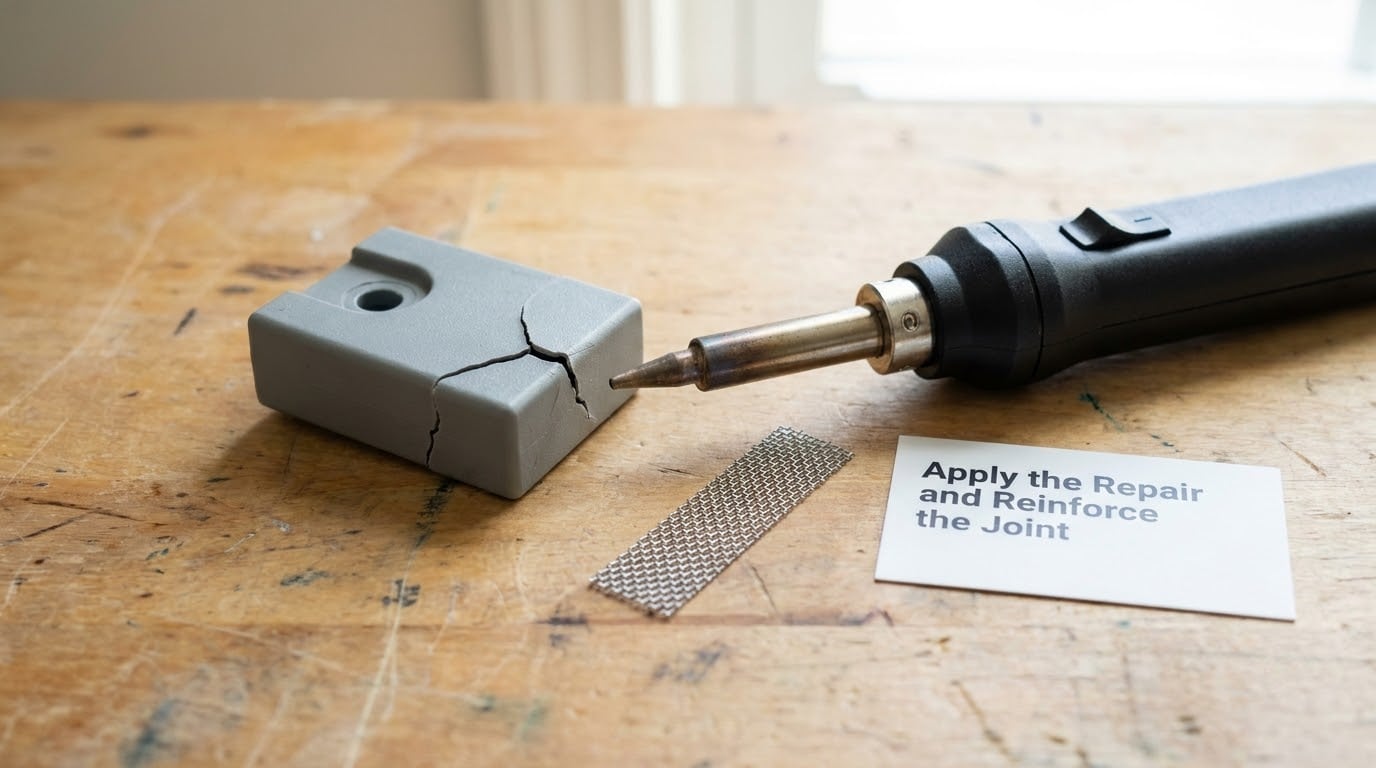
For solvent welding, dissolve matching plastic in acetone or use a ready-made plastic-model cement, thin the paste until it drips slowly, and press it into the groove with a spatula. Work it into both surfaces and let it soak for the time printed on the can. Fit the parts, clamp them, and keep the joint still until the paste has hardened.
For heat welding, set the iron or rework station low enough that the filler melts without the parent material smoking, which on most benches sits below 400 degrees Fahrenheit. Melt a little rod into the groove first, then bring the iron to the joint and feed more rod as you go. Keep the tip moving in small circles to spread the heat rather than sinking it through the wall.
For epoxy, mix the two parts thoroughly, apply a thin even coat on both surfaces, and clamp until it kicks. Thick blobs cure with voids trapped inside, and those voids are where the joint fails later. Filler putty works better than a thick bead when a chunk of the part is missing, since it can be built up and drilled after cure.
Reinforce before the adhesive sets if the joint carries load. Lay woven fiberglass cloth over the bond line, wet it out with epoxy, and trim the excess once cured. For missing tabs, hinge knuckles, or bosses, build the section up in thin layers of rod or filler, drilling a pilot hole at each stage so fasteners have something to bite into.
5. Finish, Cure, and Test the Repair
Trim away squeeze-out with a file or rotary cut-off wheel, then sand through 120 and 220 grit to blend the repair into the surrounding surface. Wipe it down with alcohol and paint or polish it to match if appearance matters.
Leave the part alone for the full cure time before loading it. Cyanoacrylate handles in seconds but reaches full strength in 24 hours, structural epoxies need 24 to 48 hours, and solvent-welded joints improve for several days as the remaining solvent leaves.
Test it honestly. Flex the joint gently across the crack line and watch for any whitening, which means the material is still yielding rather than holding. Check that mating faces, hinges, latches, and threads still line up. Fill the repaired part with water and leave it for a few hours if it is a container, and run it unloaded at first if it is a machine part. Our walkthrough on testing plastic parts for impact resistance covers the load checks in more detail.
For anything structural, pressure-bearing, or on a vehicle, have the finished joint looked at by a qualified technician before it goes back into service.
Common Mistakes
- Using the wrong adhesive. Cyanoacrylate and general epoxy barely hold on polyethylene and polypropylene because those surfaces are too chemically inert to wet properly. The fix is to stop gluing and either use a filler plus mechanical fastening, or buy a bonding system formulated for polyolefins and follow its primer step exactly.
- Bonding over dirt, oil, or release agent. Mould release, sunscreen, and handling grease are the most common reason a clean-looking joint peels. Degrease with isopropyl alcohol immediately before applying anything, and roughen the surface afterward.
- Skipping the stop holes. Cracks run from their ends because stress concentrates there. Drilling a small hole at each end, then routing a shallow groove between them, spreads the load back across the whole repair.
- Heating too much or too long. A soldering iron left sitting in one spot melts a hole through a thin wall and weakens the surrounding material. Keep the tip moving, use the lowest setting that melts the filler, and work from several light passes.
- Rushing the cure. A part handled ten minutes early looks fine and then fails a week later under load. Follow the full cure time on the tube, not the handling time, and give solvent-welded joints a day before stress testing.
- Reinforcing a fatigue crack without removing its cause. If the crack came from a stress riser, a misaligned mounting point, or a part that has gone brittle, bonding across it just traps the problem. Our article on brittleness in plastic parts covers the root causes to clear first.
- Making a cosmetic repair on a load-bearing part. A joint that looks perfect but flexes under a twist will fail at the same spot. If the original part carries structural load, add mesh, cloth, or a backing plate, or replace it.
Frequently Asked Questions
Does epoxy work on all plastics?
No. Two-part epoxy bonds well to ABS, PVC, polycarbonate, acrylic, and polystyrene, and it bridges mixed plastic types well. It grips polyethylene and polypropylene poorly, because those surfaces reject wetting. On polyolefins, use a bonding system specified for them, combine filler with fasteners, or use heat welding with matching rod instead.
Can cracked plastic be welded back together?
Yes. A hot-air rework station, plastic welder, or even a soldering iron with matching filler rod can rejoin a split rigid thermoplastic, and the finished joint can outlast the original moulded seam. Clean the surfaces, cut a V-groove, drill stop holes at the crack ends, then melt the filler into the groove in thin passes with reinforcement over the bond line.
How long does a plastic repair take?
Budget 30 minutes to an hour for a small crack with epoxy, and allow 24 to 48 hours of cure time before the part is loaded. Solvent cement sets faster but wants several hours, and a welded repair needs about 10 to 20 minutes of cool-down. Always follow the full cure time printed on the product rather than the handling time.
Is hot glue a suitable repair for cracked plastic?
Hot glue peels off anything that flexes or carries load, because it sits on the surface instead of bonding into it. It is fine for holding lightweight pieces during assembly or for a light-duty trim part that never sees stress. For a real crack, use adhesive matched to the resin, solvent welding, or heat welding with filler rod.
When is replacing the part safer than repairing it?
Replace it when the crack runs through a pressure wall, a threaded boss, a fuel or water line, a structural bracket, or a safety restraint. Parts that are crazed, delaminated, or brittle across a wide area are past saving too. If the cause was overload or a bad design, a repair will simply repeat the failure somewhere else.
What to Do First
Start with identification, not adhesive. Find the resin code or run the acetone and water tests so you know what you are dealing with, then judge whether the crack is fatigue, impact, or overloading, because that decides whether a repair is sensible at all.
If the part is repairable, clean it, drill stop holes at both ends of the crack, and practise the technique on a scrap offcut of the same plastic. Test that piece under the same load the real part will see before you commit to the actual repair, and give the finished joint its full cure time.
Anything safety-critical, pressure-bearing, or cracking repeatedly gets replaced or reviewed by a qualified professional.