
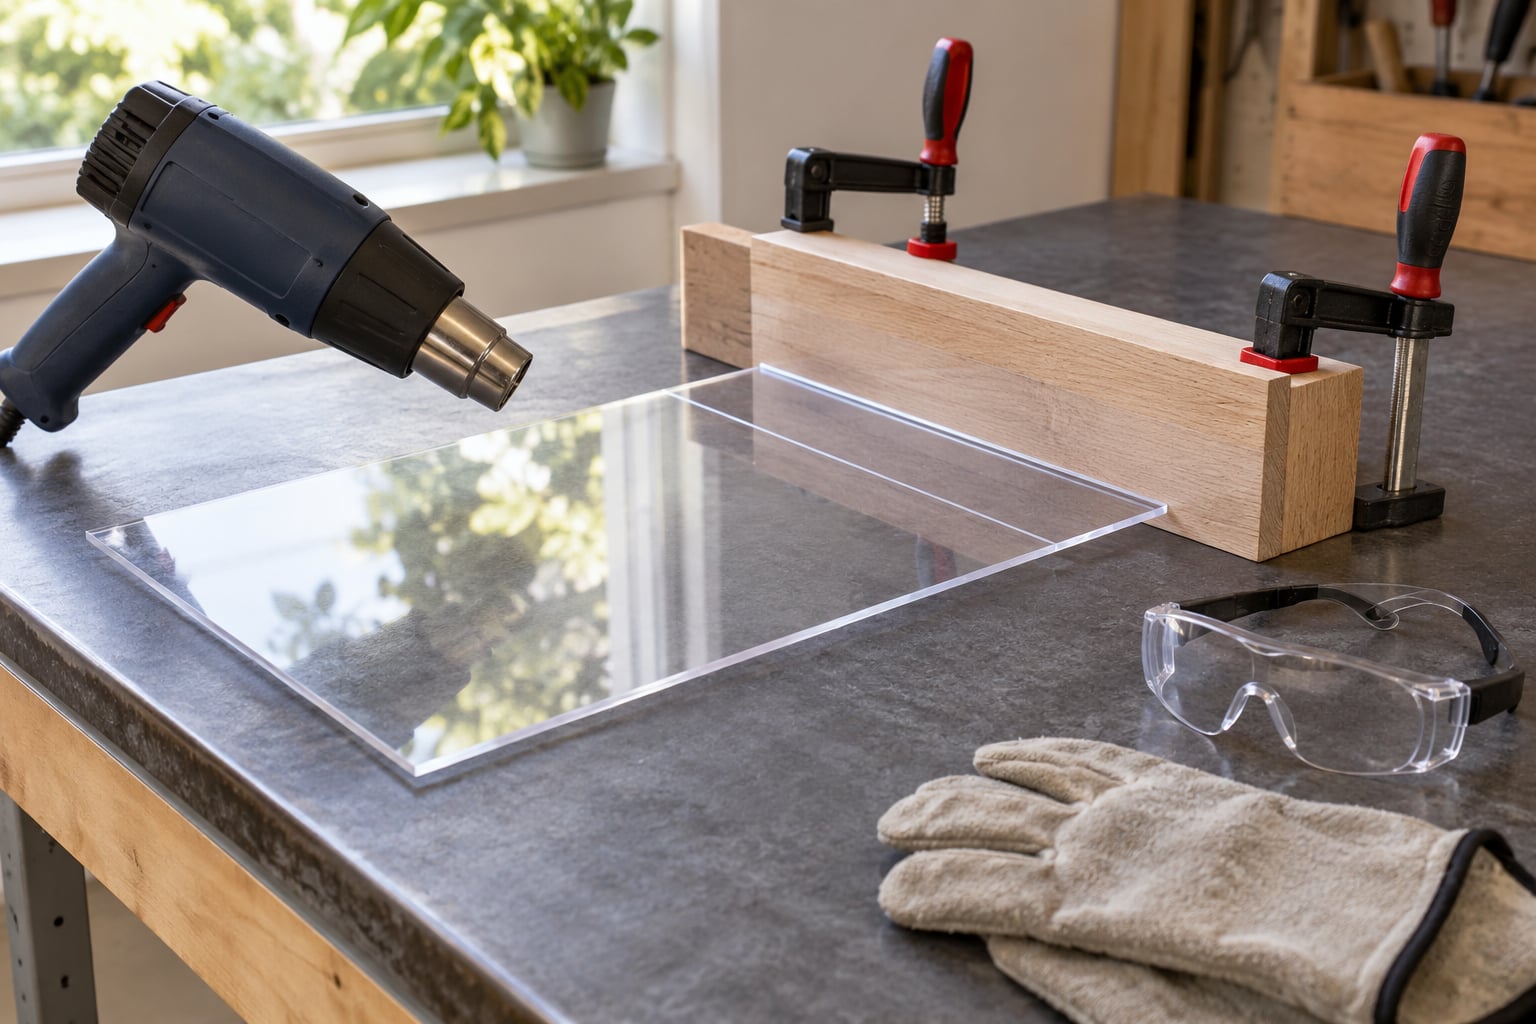
Learning how to bend acrylic sheet with heat is mostly about three things: heating a narrow band evenly, bending it only as far as it gives without forcing, and letting it cool under restraint so the new angle stays put. Acrylic (PMMA) is a thermoplastic, so once you heat a line on the sheet to roughly 285-320°F (140-160°C) it turns pliable, takes the shape you hold it in, and locks that shape permanently as it cools. A heat gun is enough for most small parts; a strip heater, an oven, or a proper bending machine earns its keep on long folds or thick stock.
The whole process takes about 20 minutes for a small part once you have a jig. The tricky part is not the heat, it is the patience.
Table of Contents
- What You Need
- Step-by-Step: How to Bend Acrylic Sheet With Heat
- 1. Choose the Right Acrylic and Heat Source
- 2. Prepare the Sheet and Work Area
- 3. Heat the Bend Line Until the Acrylic Bends Easily
- 4. Form the Bend Slowly and Hold It in Position
- 5. Cool the Acrylic Without Distorting It
- 6. Inspect, Finish, and Re-Heat if Needed
- Common Mistakes: How to Bend Acrylic Sheet Without Cracking, Bubbling, or Whitening
- Frequently Asked Questions
- What temperature should acrylic be when bending it?
- Is a heat gun safe for bending acrylic sheet?
- Can cast acrylic be bent more easily than extruded acrylic?
- What is the smallest practical bend radius for acrylic?
- How long should bent acrylic cool before handling?
- How can I prevent cracks, scorch marks, or stress whitening?
- Conclusion
What You Need
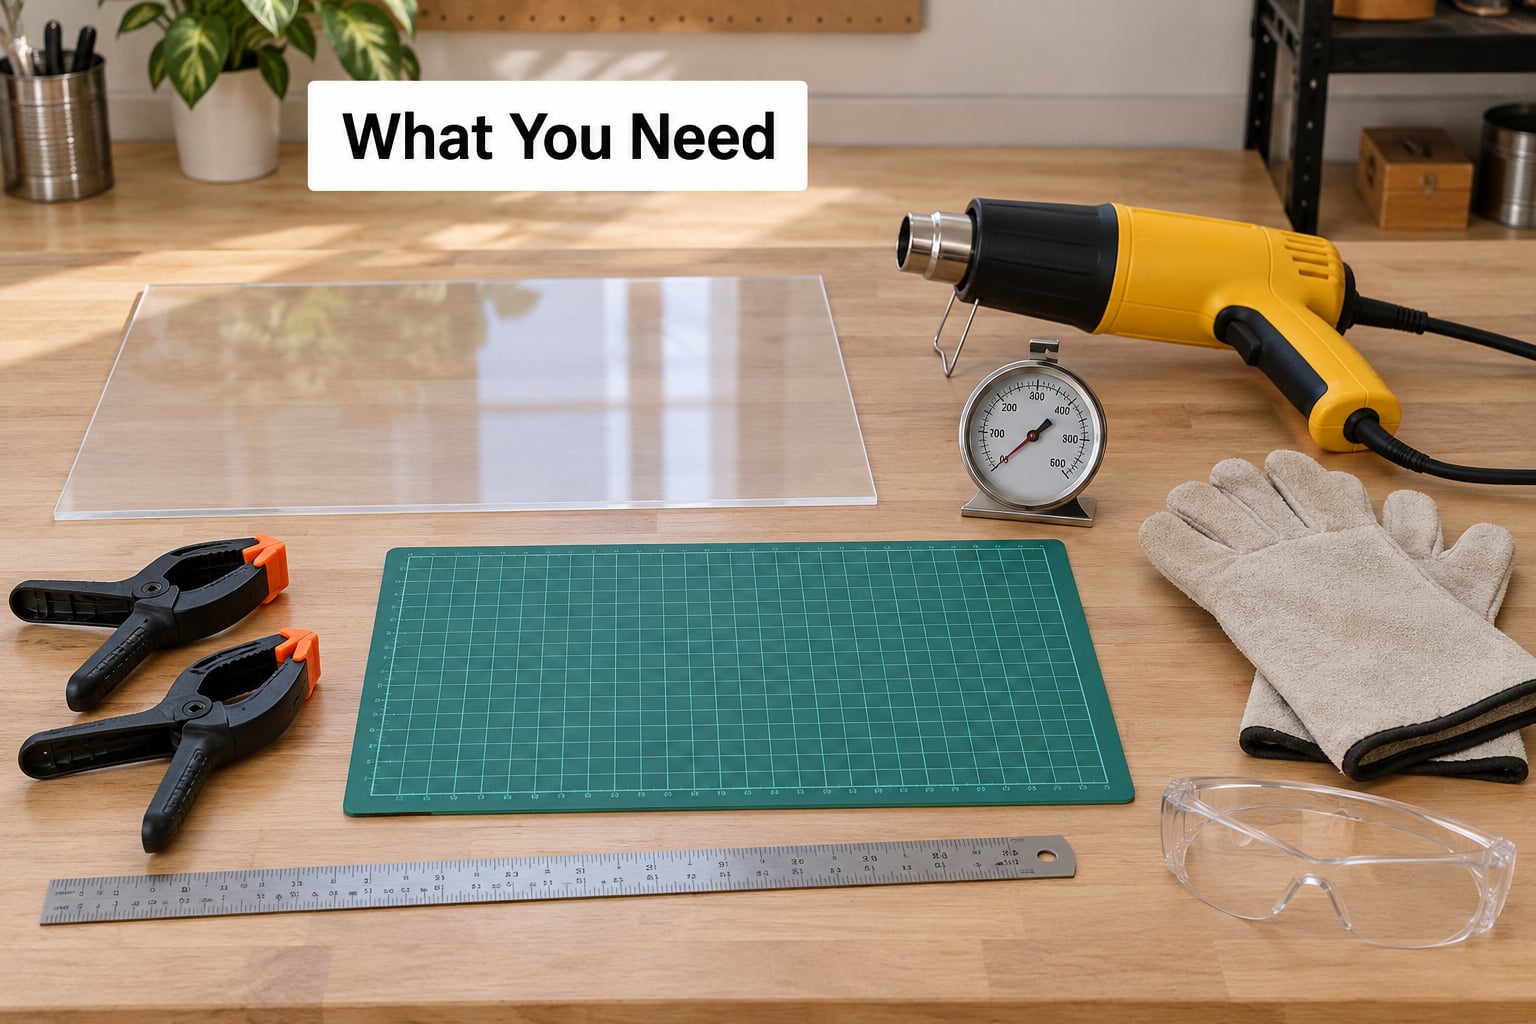
You need very little for a first bend, and more than you think for a repeatable one. The list below covers the tools, the safety gear, and the forming aids; you will not use all of them on every method.
Materials and forming aids
- Acrylic sheet in a thickness you can actually heat. Cast and extruded sheet both work, and cast is the safer choice for tight folds and any bend that will be seen closely.
- Heat-resistant work surface such as a ceramic tile, a scrap of plywood with a foil face, or a heat mat. Never an unprotected plastic or laminate table top.
- Scrap wood backing block and clamps to hold the sheet flat and give the bend line something solid to press against.
- A straight edge or forming jig for a crisp fold: a hardwood dowel for a radius, a scrap of sheet metal for a sharp flange, or a purpose-made bending brake for repeat folds.
- Aluminum foil to make a heat shield or a reflective backing strip.
- A ruler or straight edge and a fine marker for laying out the bend line.
Heat sources
Pick the heat source to match the geometry, not to match what you already own.
| Heat source | Best for | Where it falls short |
|---|---|---|
| Heat gun with a narrow nozzle | Localized bends, short lines, small parts, sheet up to about 6mm | Hard to hold an even temperature along a long fold; overheats fast if you dwell |
| Strip heater / line bender (nichrome wire) | Long straight folds, tight consistent radii, repeat production | Needs a build or a purchase and some electrical care |
| Acrylic bending machine | Repeat batches, signage, 3D letters, thick stock up to the 20mm (3/4 in) practical limit | Cost, and it is more machine than hobby tool |
| Toaster or convection oven | Broad curves, large panels, and warming the whole sheet evenly before forming | Poor local control; you heat the entire sheet, so hold times go up |
| Hot air rework station | Small parts and small letter cutouts, with a tighter nozzle than most heat guns | Same limitation as a heat gun, just neater |
| Soldering iron | Minute folds on thin strip, used as a micro strip heater | Very slow on anything else, and it scorches if you linger |
| Hair dryer | Thin sheet and shallow curves | Weak and uneven; often not enough for 3mm and up |
| Hot water | Simple single curves on thin sheet with no dry heat source available | No local control at all, so you get a broad even curve or nothing |
One of the clearest practitioner warnings I have seen applies to every row above: a propane torch or open gas flame should never touch acrylic. It deposits carbon, it makes the fumes worse, and it is the fastest way to scorch a sheet. If a video shows a gas stove, treat it as a warning rather than a method. If you work with acrylic regularly, our guide on thermoforming applications covers where broader heat forming starts to make more sense than line bending.
Safety and measurement
- Safety glasses. Acrylic does not flame like wood, but softened sheet snaps unpredictably and a strip under tension can let go without warning.
- Heat-resistant gloves for handling a hot sheet. A cool sheet feels cool long before the inside of the bend line does.
- Ventilation. Acrylic softens before it burns, but a sheet that sits too long on the heat starts to smell, and that smell is your cue to pull it away. If your shop handles acrylic regularly, the safety data sheet for your grade lists the specific conditions the manufacturer expects you to work under.
- An infrared thermometer or a probe thermometer. Useful for confirming that a heat gun’s dial means something, and for the pre-dry step below.
Step-by-Step: How to Bend Acrylic Sheet With Heat
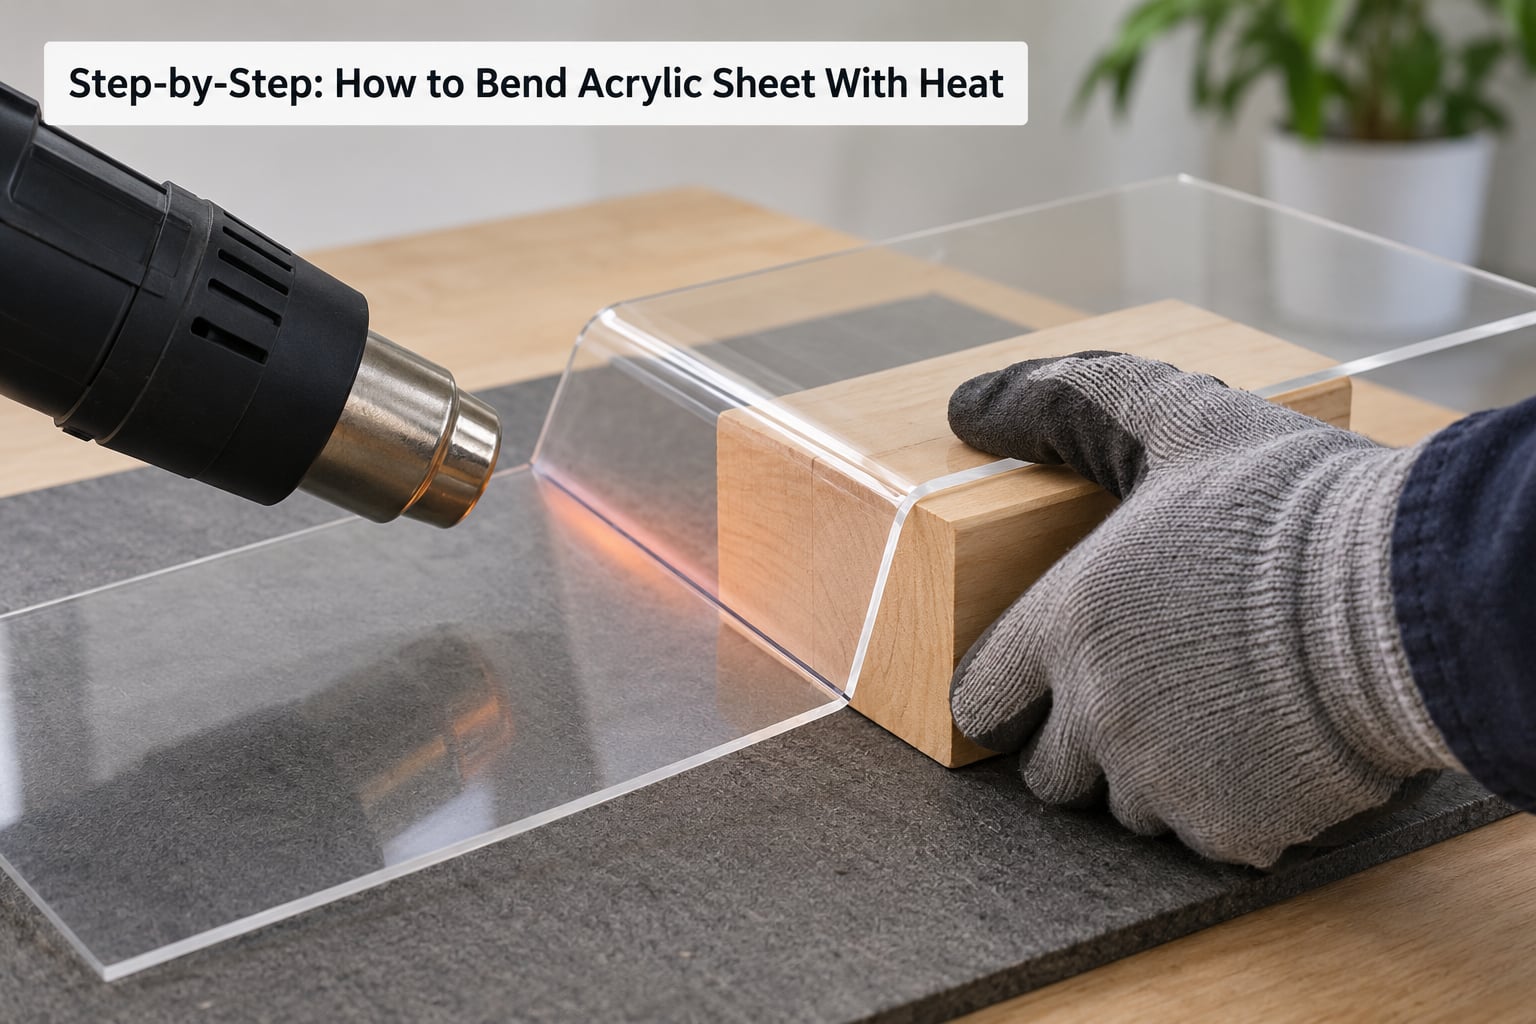
There are six steps, and four of them happen before the heat gun is switched on. Skipping preparation is the reason most first attempts crack.
1. Choose the Right Acrylic and Heat Source
Match the sheet to the shape you want and the tool to the sheet. Extruded acrylic has a lower softening point and often a tighter formulation window, so it forms easily and can surprise you; cast acrylic is more forgiving, forms into a tighter radius, and machines and polishes better, which is why fabricators lean on it for anything visible.
Thickness decides the rest. Sheet up to 3mm bends with a heat gun almost effortlessly. At 6mm and above you are asking for a longer, wider heated band, more patience, and often a strip heater instead. The practical ceiling for a home setup is around 20mm (3/4 in), and above that you want a bending machine with controlled heat on both faces.
Decide the radius before you decide the temperature. A straight 90° flange, a gentle 3mm radius, and a tight return are three different jobs, and the tightest one needs the narrowest, hottest line. Check the supplier’s technical data for the specific grade; PMMA formulations differ, and the manufacturer of your sheet is the authority on its own forming window.
2. Prepare the Sheet and Work Area
Peel the protective film off before you heat anything. Film still on during forming bakes onto the face, catches the edge of the heat band, and comes off later with a ripple or a stuck-on shadow that no amount of polishing removes. Cut and machine the sheet first, drill and finish the edges, and bend last, so your fixtures and tools are not working against a finished face.
Mark the bend line across the full width, and leave 2-3mm extra material at each end of the line. The ends of a long fold cool first and pull the middle, which is what gives you a bowed, non-square flange. Scrape or clean the line if the surface has any residue, then dry the sheet.
If the sheet has been stored in a humid room, dry it first. This step is the fix for the single most reported defect in amateur bending: bubbles that appear inside the heated zone. Acrylic absorbs moisture slowly, and at forming temperature that moisture turns to steam inside the sheet. A few hours in a warm oven or on a heat mat well below forming temperature clears it, and those bubbles never show up. Forum builders traced this back to absorbed moisture long before anyone attributed it to temperature alone.
Set up the jig before heating. Clamp the sheet to the scrap backing block so the unheated parts stay flat, and have the fold edge, the form, and the gloves within reach. A heat gun in one hand and a phone in the other is how a sheet ends up on the floor mid-bend.
3. Heat the Bend Line Until the Acrylic Bends Easily
Heat along the line while moving the source. Sweep it slowly and continuously along the marked line, and never park it in one spot. A dwell of a few extra seconds is the difference between a clean fold and a blister.
Move the heat source rather than turning the temperature up. If the sheet will not yield, a wider heated band and more passes will do more than cranking the gun to maximum. Sweep both faces for sheet thicker than about 3mm; heating only the top surface gives you a convex, puckered fold instead of a clean hinge line.
Aim for the 285-320°F (140-160°C) forming window, and treat 320°F (160°C) as a hard ceiling, not a target. Acrylic starts to lose its shape noticeably above roughly 210°F (99°C), and that is the range where forming actually happens. Past the ceiling the sheet blisters, yellows, and runs, and it does not forgive.
You will know it is ready by feel, not by number. The line goes from rigid to slightly springy to soft, and soft acrylic takes a gentle bend without springing back. If it resists and wants to straighten itself, keep sweeping. A strip heater does this in one slow pass, which is why its folds are so much more consistent than a heat gun’s.
4. Form the Bend Slowly and Hold It in Position
Bend gradually, in small increments, along the full length of the line. Start by bringing the heated edge back only a few degrees, then work along the fold in stages. A single hard pull forms a hinge at the middle of the line and leaves the ends straight.
Use a straight edge or form to control the result: a hardwood dowel or round bar for a radius, sheet metal for a crisp flange, and a scrap of the same thickness as a spacer to keep repeat bends identical. Support the free side of the sheet so it does not hang and drag the angle out of line.
Gloves on for the hands, a clamp for anything that wants to spring back. If the bend is going somewhere awkward, build a crude jig: two blocks and a strip of aluminum foil is enough to hold a 90° flange steady while it cools. If you want the tightest possible radius with a heat gun, concentrate on a narrow line and bend immediately, before the heat spreads into the cold sheet.
5. Cool the Acrylic Without Distorting It
Hold the piece in position until it has cooled all the way through. This is the step everyone mentions once and nobody explains, and it is where a good bend becomes a bad one. Acrylic cools from the outside in, so a part held at the correct angle while the core is still warm will stay at that angle, while a part released early can droop, open up, or drift a few degrees as the last of the heat leaves the inside of the fold.
Do not try to speed it up with cold air or a cold surface. Chilling the outside while the core is soft builds exactly the uneven stress you spent the bend trying to avoid. On a folding box, cooling in a few minutes is enough. On 10mm and thicker sheet, give it ten or more.
Move the part the way you would move a sheet of glass. Lift it flat, support both ends, and do not twist or flex the fold to test it while the core is still warm. Handling it before it is fully cool is how a good bend gets ruined by a sympathetic-looking nudge.
6. Inspect, Finish, and Re-Heat if Needed
Let the part reach room temperature, then check it. Look along the fold from eye level, not from above: a bend that looks flat from overhead can be bowed along its length. Check the angle against a square, check the radius against your form, and run a fingernail lightly along the fold to feel for the ridge that a cold, uneven bend leaves behind.
Distinguish two marks that beginners mix up. Stress whitening is a permanent chalky white line inside the fold, caused by microvoids from over-bending or bending below the softening point. Optical distortion is the surface rippling you see when you look at a smooth area at an angle; it goes away with a light polish or flame polish, and it is not a structural problem. If the white is in the material, it stays.
| What you see | What caused it | What to do |
|---|---|---|
| Bubbles or blisters in the heated zone | Moisture turning to steam, usually with too much dwell time on top of it | Pre-dry the sheet, move the heat source continuously, and work at a slightly lower setting |
| A crack along or across the fold | Bending cold acrylic, or forcing past the radius the heated band can support | Heat a wider band, bend in smaller steps, and reheat rather than lever |
| White or cloudy line after cooling | Over-bending or bending below the softening point | Widen the heated band and stay inside the forming window |
| Twisted, bowed, or non-square fold | One face softened first, or the ends cooling before the middle | Heat both faces, extend the line 2-3mm past each end, and support the whole part while cooling |
| Scorch marks or a melted contact patch | Contact with hot wood or metal, or a flame | Use a foil-faced or sacrificial backing, and keep the sheet moving |
| A convex, puckered fold | Heating only the top surface | Sweep the heat over both faces and bend immediately once soft |
| The angle opening or falling back after release | Released before the core had cooled | Hold the jig longer; on thick stock, clamp until fully cool |
| A baked-on shadow or ripple where the film was | Protective film left on while heating | Peel the film off before forming, and machine and polish the face afterward |
A mild angle that is off by a few degrees can be corrected with a gentle reheat and a second slow bend, provided the sheet is not already stressed. Once you see scorching, deep bubbles, or a crack, stop and cut the piece back to a usable size instead of compounding the damage. Before solvent bonding a bent part, anneal it slowly around 180°F (82°C) for roughly an hour per millimetre of thickness, then let it cool inside the oven; that stress relief is what stops solvent joints from cracking days later.
Common Mistakes: How to Bend Acrylic Sheet Without Cracking, Bubbling, or Whitening
Almost every avoidable failure in heat bending comes down to heat applied unevenly, a bend taken too early or too far, or a part moved before it had cooled.
- Holding the heat gun in one spot. This is what makes blisters. Keep moving, and give the line more passes instead of more dwell.
- Heating only the top face. Sheet thicker than 3mm needs heat on both sides, or the fold comes out convex and puckered.
- Bending cold acrylic. If it springs back when you let go, it is not soft enough yet. Cold bends produce stress whitening and cracks.
- Forcing a tight radius. The tighter the radius, the narrower and hotter the line needs to be. A wide, soft band cannot make a sharp return.
- Releasing too early. The angle will drift while the core is still warm. Hold until the part is cool all the way through.
- Cooling it too fast. Cold air on a soft core sets up uneven stress. Let it relax on its own.
- Skipping the pre-dry. If your sheet came from a damp storeroom, low-temperature drying prevents the bubbles that appear minutes into the bend.
- Using a flame. Fumes, soot, and a scorch mark, and the sheet will be ruined long before it is soft.
- Welding the acrylic or working near it. Cutting and grinding nearby can send hot swarf into the sheet and melt a mark along an edge.
- Skipping the offcut test. Make a small test piece from the same sheet, bend it, and inspect it cold before committing a full panel.
Frequently Asked Questions
What temperature should acrylic be when bending it?
Work in the 285-320u0026deg;F (140-160u0026deg;C) forming window, and treat 320u0026deg;F (160u0026deg;C) as a hard ceiling. Acrylic starts to lose rigidity noticeably above about 210u0026deg;F (99u0026deg;C), which is where forming actually happens. Always check the technical data for your specific grade, since formulations differ.
Is a heat gun safe for bending acrylic sheet?
Yes, with care, and it is the right tool for localized bends and sheet up to about 6mm. Keep the gun moving, stay inside the forming window, wear eye protection, and work with ventilation. Never use a propane torch or open flame, and never hold the gun still on one spot, which is the usual cause of blisters.
Can cast acrylic be bent more easily than extruded acrylic?
Cast acrylic generally forms more predictably and holds a tighter radius, and it machines and polishes better on any bend line that will be seen. Extruded acrylic softens at a slightly lower temperature, so it is easier to move but offers a narrower margin before you push it past its limits.
What is the smallest practical bend radius for acrylic?
There is no single number, because the radius you can hold depends on the thickness and on how narrow a line you can heat. The practical rule is that the inside radius should be several times the sheet thickness, and the tighter you want it, the narrower your heated band needs to be. Sheet above about 20mm is where a heat gun stops being realistic.
How long should bent acrylic cool before handling?
Until it reaches room temperature all the way through, which takes several minutes for thin sheet and ten minutes or more for 10mm and thicker stock. Release early and the angle drifts as the core finishes cooling. Support the piece while it cools and do not twist the fold to check it, since the inside of the bend stays warm well after the outside feels cool.
How can I prevent cracks, scorch marks, or stress whitening?
Heat a wider band, sweep both faces, and stay inside the forming window. Dwell less, move more, and bend in small steps only once the line is genuinely soft. Use a foil-faced or sacrificial backing block so the sheet never touches hot wood, and treat any white line in the material as a sign to reheat and start that bend again rather than force it.
Conclusion
The safest first move is to decide what shape you need, then match the heat method to the sheet thickness before you touch the heat gun. Mark a clean bend line with 2-3mm of overhang at each end, dry the sheet, set up your jig and clamps, then heat the line while moving the source across both faces until the acrylic bends without springing back.
Form the angle in stages, hold it until the part is cool all the way through, and only then look at it. If you are new to this, cut one small offcut from the same sheet, bend it, and let it cool fully before you commit a full panel, and follow the forming guidance from the sheet’s own manufacturer, since grades differ. And if you are working with acrylic regularly enough that the process is becoming a production step rather than a one-off, it is worth reading how to read a resin spec sheet before you order your next batch.