
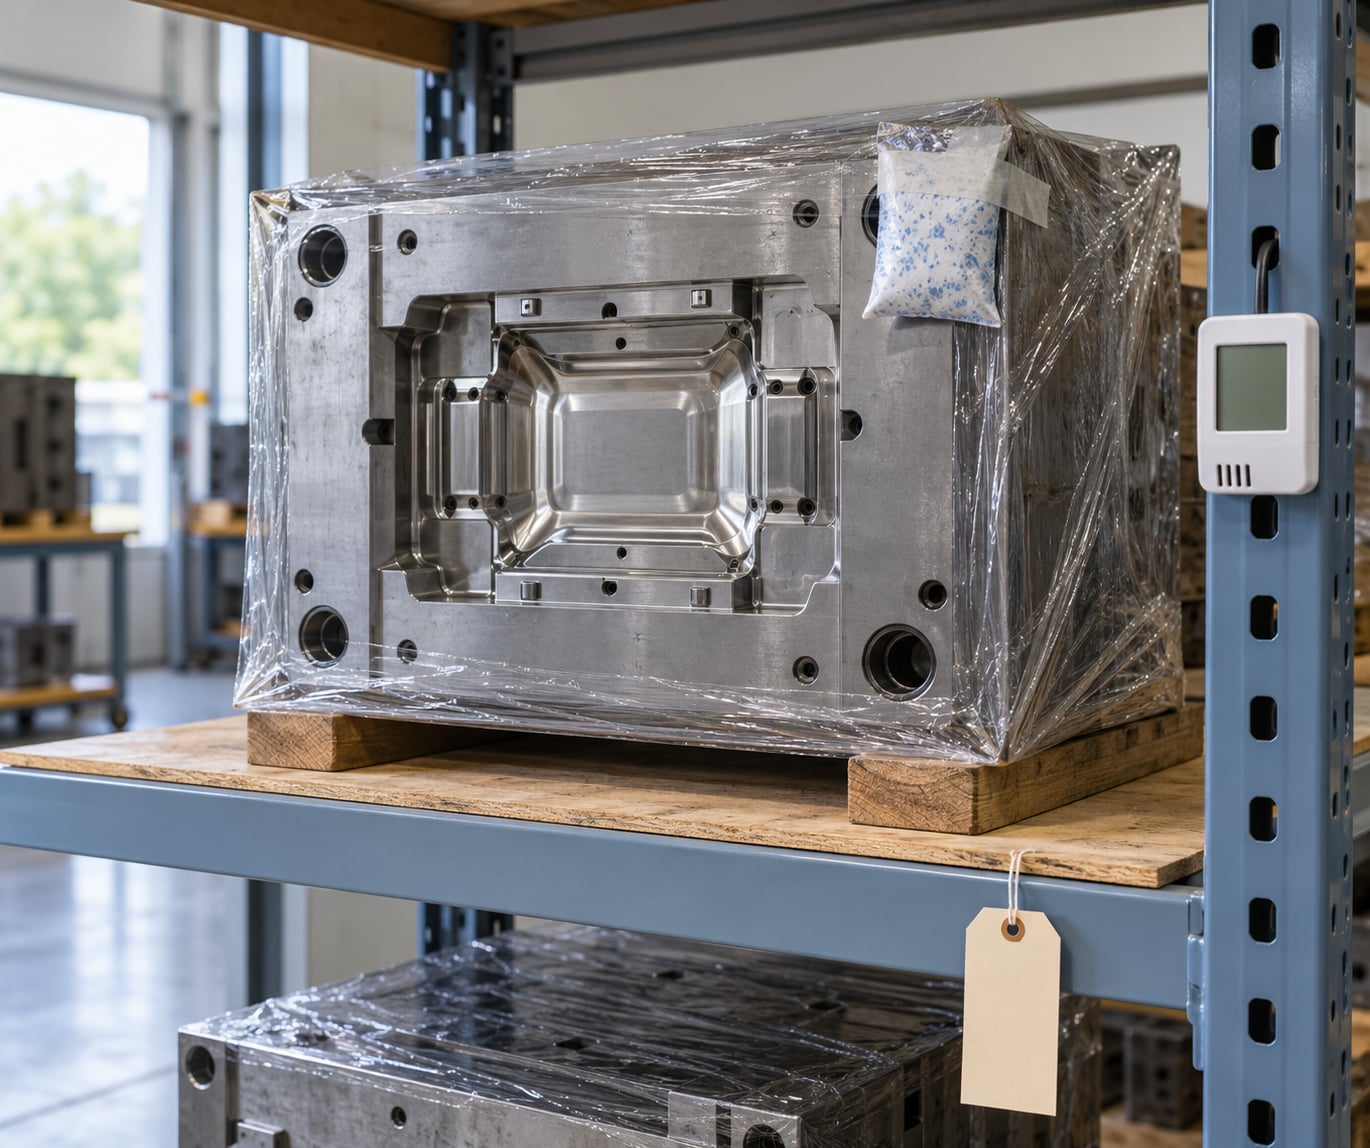
Storing an injection mold properly comes down to four things: get every drop of water and polymer out of it, put a corrosion barrier on the steel, control the air around it, and write down what you did so the next shift can trust it. A clean, dry, tagged mold that sits under 50% relative humidity comes back to production in an afternoon. A neglected one comes back with rust pits, seized slides, and a strip-down that costs far more than the storage work ever would.
Most of the damage happens in the gap between the last shot and the next one, not during production. That gap can be four days between seasonal orders or four years for a tool that only runs on one customer contract. The process below scales to both, and it takes roughly two to four hours per mold depending on size and condition.
Steel molds are the priority here. Aluminium tooling is far less prone to rust but still hates humidity, edge damage and contamination, and elastomer and silicone tooling has its own warping problem. Most shops that store all three under one procedure end up over-protecting the soft tooling and under-protecting the steel.
Table of Contents
- What You Need
- Step-by-Step: How to Store Injection Molds Properly
- 1. Inspect before you clean
- 2. Purge and clean the mold
- 3. Dry the water lines completely
- 4. Lubricate moving components
- 5. Protect the auxiliary systems
- 6. Apply the right preservative for the duration
- 7. Package and label
- 8. Position and support it correctly
- 9. Control the room and log the mold
- Set a monitoring schedule that people keep
- Common Mistakes
- Frequently Asked Questions
- How long can injection molds be stored without being used?
- Should injection molds be wrapped in plastic when stored?
- What humidity level is safe for storing injection molds?
- Should injection mold components be removed before long-term storage?
- How should an injection mold be stored vertically or horizontally?
- What should be inspected before using a stored injection mold?
What You Need
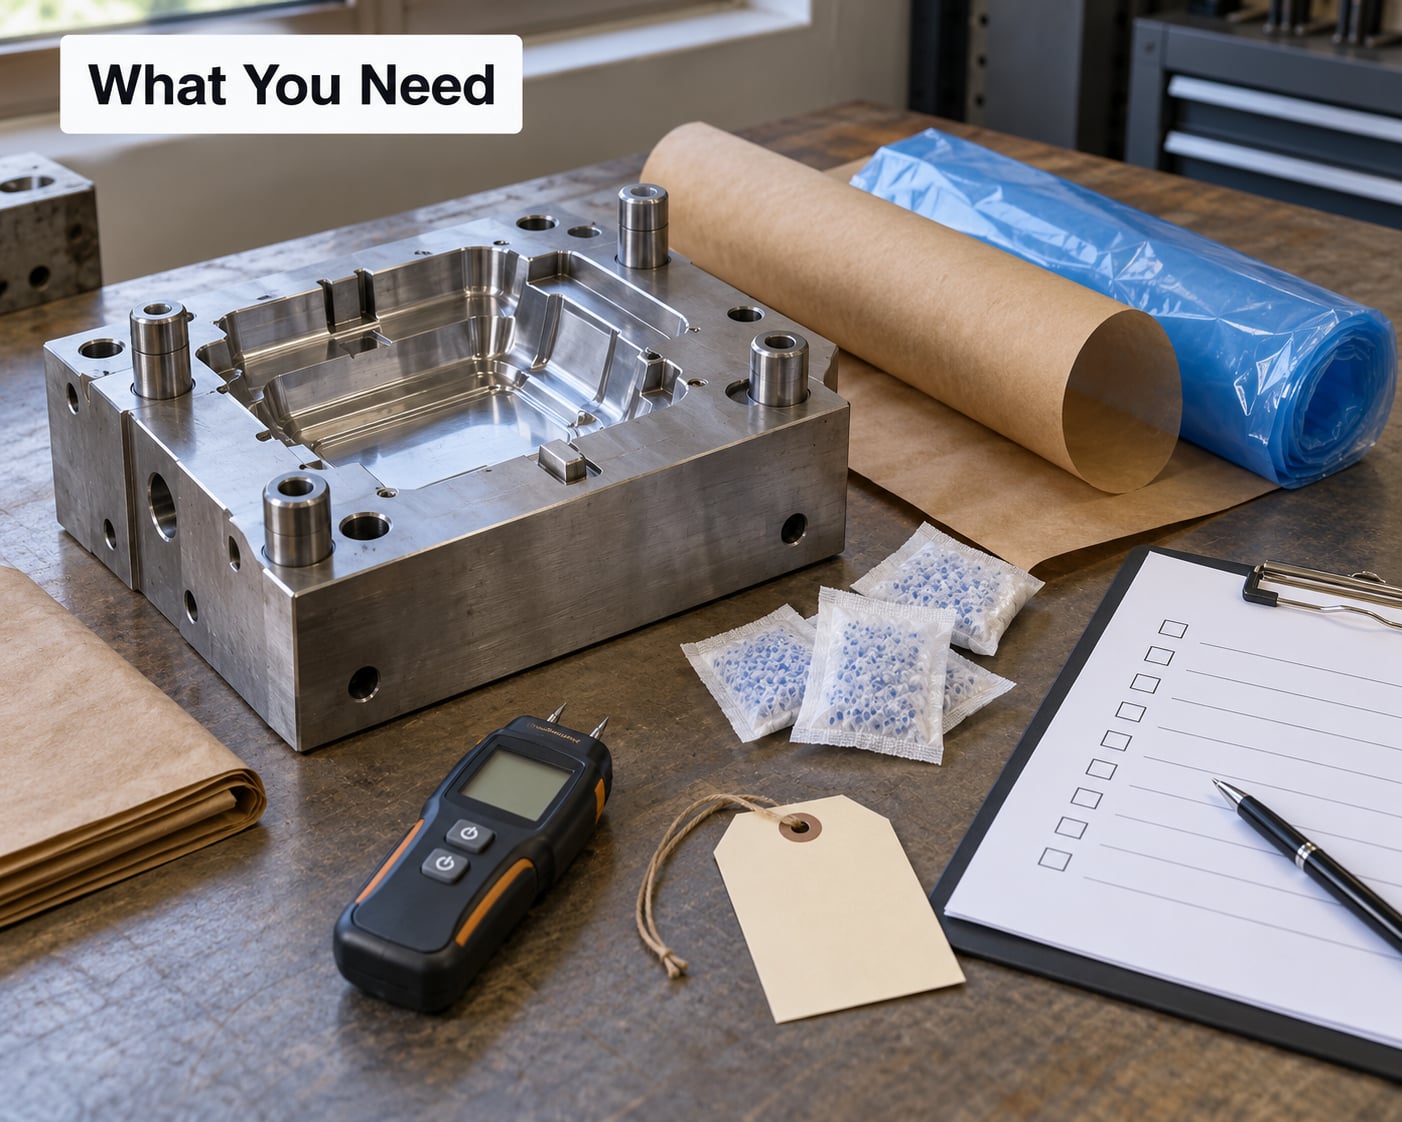
The list is short, and most shops already own most of it. Group it by job rather than by supplier, so the person doing the storage can grab one cart and finish the mold without walking back to the tool room four times.
Cleaning and drying kit
Mold cleaner or a pH-neutral detergent, lint-free wipes, brass or nylon brushes, plastic scrapers, and a clean lint-free cloth. You also need filtered compressed air or a dry air gun for blowing water lines, plus a portable dehumidifier or drying cabinet if you are not storing the mold in a conditioned room the same day.
Corrosion protection
A soft-film or hard-film preservative, anti-rust oil for storage under one month, and a spray rust preventive for cavity surfaces you cannot touch. Long-term storage also wants a vapor corrosion inhibitor film, and vacuum barrier bags with desiccant are worth the extra step for anything sitting over a year.
Packaging and labelling
Anti-rust paper, VCI film or heavy plastic sheeting, stretch wrap, silica gel desiccant packs, wooden pallets or crates for large tooling, and support blocks sized to the mold base. Add printed storage tags or a tag holder for the rack, plus a permanent marker or label printer for mold number, cavity count, date, preservative type and next inspection date.
Handling and environment
An overhead crane or forklift rated above the mold weight, lifting eyes checked for thread condition, and a fork-safe base or skid. In the storage room you want a calibrated humidity monitor or data logger, an industrial dehumidifier, a thermometer, and a rack with a load capacity of two to three tons per bay.
Records
A mold-specific storage record, either a card in the tool room binder or a row in the maintenance system. Fields: mold number, part number, storage start date, expected duration, cleaning method, preservative used, water-line drying confirmation, last inspection date, next inspection date, and the technician who signed off.
Step-by-Step: How to Store Injection Molds Properly
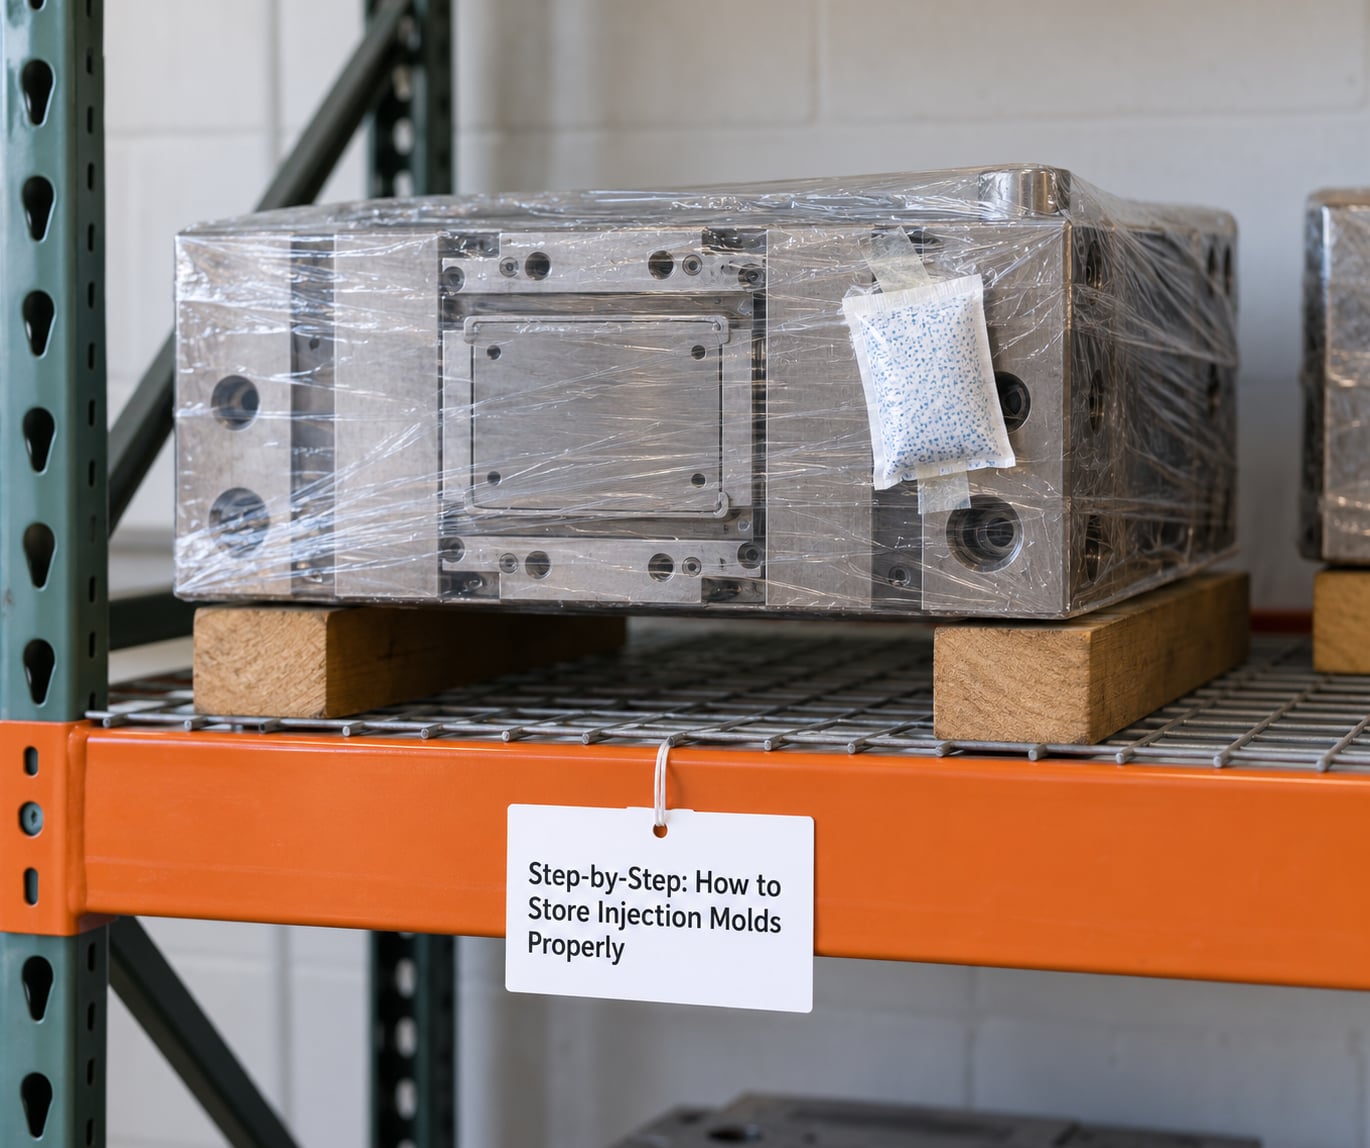
Run the steps in order. Skipping ahead usually means going back, and going back on a mold with hardened steel means a repair bench, not a tool room.
1. Inspect before you clean
Look at the mold while it is still on the machine or on the lift table. Photograph the parting line, cavity faces and any wear you found on the last run. Check the guide pins, bushings, ejector pins, slides and latch for damage and note it in the record now, while you remember where it was.
2. Purge and clean the mold
Run the last few shots into a scrap bin using the thinnest resin grade the machine can hold at a low pressure, which carries polymer out of the water lines and hot runner. Then open the mold and clean every surface with mold cleaner and a lint-free cloth. Polymer left behind holds moisture against the steel and attacks the coating underneath it later.
3. Dry the water lines completely
Blow each water line from both ends with dry compressed air until air exits clean. Do the same for hot runner manifolds, heater bores and sprue channels. This is the step people rush, and it is the one that produces rust eight months later, inside a channel nobody can see until the part comes out with a streak.
4. Lubricate moving components
Coat slides, cams, ejector pins, return pins and any exposed screw with a light machine oil or mold grease. Leave sliderways and any surface the mold is meant to slide clean. If you plan to store the mold for more than about three months, retract the ejector system fully so the springs and ejector plates are not loaded.
5. Protect the auxiliary systems
Hydraulic and toggle components get a light oil on exposed rods and cylinder seals, and every hydraulic port gets a cap or plug so dirt and moisture cannot get in. Hot runner manifolds should be purged with air and every heater, thermocouple and connector bagged or taped. Unplug nothing you cannot label; note the wiring order on the record.
6. Apply the right preservative for the duration
Match the protection to how long the mold sits. The table below is the short version.
| Storage duration | Protection | Notes |
|---|---|---|
| Up to 4 weeks | Anti-rust oil or soft-film spray on cavity faces and guide components | Wipe off and reapply each time the mold moves |
| 1 to 6 months | Soft-film preservative plus VCI paper wrapping | Include a silica gel desiccant pack inside the wrap |
| 6 to 24 months | Hard-film preservative or VCI film, sealed with taped edges | Bag thermocouples and connectors separately |
| Over 2 years | Hard-film preservative inside a vacuum barrier bag with desiccant | Seal the bag and label it with the date and the re-bag date |
Harder films protect better but need a solvent and sometimes a blast to remove. If the mold goes back to production quickly and technicians hate stripping film, stay with soft film and reapply on every pull.
7. Package and label
Wrap the mold in anti-rust paper or VCI film, tape the seams, and fasten a desiccant pack where it cannot slide around. Plastic sheeting alone is not a barrier; it stops dust and nothing else. Label the package with mold number, cavity count, storage date, expected return date and the preservative used.
8. Position and support it correctly
Store steel injection molds lying flat on level support blocks, not on their edge and not standing on the parting line. Never stack molds directly on each other without a dunnage layer, because the weight above distorts the lower mold’s parting face over time. Put blocks at the tie-bar region and under the heaviest plate, and leave clearance for air to move around the mold.
Large molds usually sit on skids or wooden pallets so a forklift can take them out in one move. If a mold must stand on edge for space reasons, support the parting line face so nothing loads the cavity, and never let the weight hang on the locating rings.
9. Control the room and log the mold
Keep relative humidity under 50%, with 40 to 50% as the working target, and hold temperature near 18 to 22 degrees Celsius. Stable temperature matters as much as the number itself, because swings drive condensation onto a cold mold the moment it comes out of a warmer room. Run a dehumidifier if the storage area is not conditioned, and place the humidity monitor where staff can actually read it.
Finish by writing the storage card. Set a calendar reminder at one month for short storage, and at three months for anything over six months.
Set a monitoring schedule that people keep
A quarterly inspection beats an annual one. Pull the wrap on one or two molds a quarter, check the cavity faces and guide components, confirm the desiccant has not saturated, and re-apply the preservative if the film has been disturbed or the room was opened during a humid spell. Anything stored near a coastal site or through a rainy season gets checked monthly.
If rust appears anyway, work by severity. Light surface rust on a face with no dimensional impact can be handled with a phosphoric or citric acid cleaner and a re-passivation film. Pitting that raises surface roughness on a cosmetic face needs glass-bead sandblasting at 80 to 120 mesh and roughly 0.3 to 0.5 MPa, followed by polish. Pitting on sealing surfaces, bores or guideways is a machining and repair job, not a cleaning job.
Common Mistakes
Wrapping a wet mold
This is the single most common failure and it traps moisture against steel for months. Water-line drying is not a formality; if air does not exit the far end of the line clean, the mold is not ready to wrap. The same applies to purging polymer, which holds humidity close to the metal.
Storing with slides and ejectors loaded
A loaded slide rack or a compressed ejector spring set stores energy that slowly relaxes and can leave wear marks, or worse, crack a component that was fitted to size. Retract the ejector system and return slides to their rest position before the mold goes on the shelf.
Covering cavities in ordinary plastic
Thin poly sheeting keeps dust off and passes moisture straight through. It only becomes useful combined with a VCI film or barrier bag, sealed at the seams, where it acts as the outer mechanical protection for a real corrosion barrier underneath.
Ignoring what the resin did to the mold
PVC and halogenated flame retardant grades release hydrogen chloride or hydrogen bromide during degradation, and those gases attack tooling steel and can cause stress corrosion cracking. Water-based and some release agents leave hygroscopic film on cavity faces that pulls moisture in. Purge thoroughly, clean with a proper mold cleaner, and never store a mold right after a long run of aggressive regrind.
Storing on the floor or on the parting line
A mold on a concrete floor picks up moisture through contact, and a mold standing on its own parting line can wear or distort where the clamping face is no longer supported. Pallets, skids or racks with support blocks at the right points cost less than any cavity repair.
Skipping the record
Without a log, the next technician guesses at the last inspection date, cannot tell what preservative is on the steel, and re-wraps a mold that has been open in the humid part of the season for a month. A card with six fields removes all of that guesswork.
Treating a seasonal room as a permanent one
Conditions that are fine in a dry winter ruin tooling in a wet season. Dehumidifiers sized for the room, dataloggers that alert someone when humidity drifts, and a written rule that molds get re-bagged before a known wet spell are what keep this under control.
Assuming steel grades behave the same
Pre-hardened mould steels such as P20 and H13 need routine protection, stainless grades such as S136 resist corrosion far better but still pit at surface defects, and nickel and chrome plating adds only a thin barrier that scratches easily. Tooling life expectations in our aluminium versus steel mold comparison assume normal storage conditions, so the storage routine is part of the tooling decision, not an afterthought.
Two habits help more than any single product. One, keep the storage cart stocked with wrap, tags, desiccant and gloves so nobody skips protection to save five minutes. Two, schedule the quarterly inspection as a real calendar item with a name on it. Molds are inventory, and inventory that is never checked quietly becomes scrap.
Frequently Asked Questions
How long can injection molds be stored without being used?
A properly cleaned, coated and sealed steel mold can sit for years without meaningful loss. Most shops set one month as the point where you re-apply preservative, six months as the point where you move to hard-film or VCI protection, and two years as the point where a vacuum barrier bag with desiccant is worthwhile. Flexible and silicone molds are different: they should be stored flat, supported and out of sunlight, and checked more often for warping and dust.
Should injection molds be wrapped in plastic when stored?
Only as an outer layer over a real corrosion barrier. Ordinary plastic sheeting blocks dust but passes water vapour, so wrapping a mold in it alone traps condensation against the steel. Wrap first in anti-rust paper or VCI film with a desiccant pack inside, seal the seams with tape, then add sheeting or stretch wrap for handling protection.
What humidity level is safe for storing injection molds?
Keep relative humidity under 50%, and aim for 40 to 50% as a working target. Below 40% you gain little extra protection; above 50% condensation and corrosion risk climb quickly. Stability matters as much as the reading, so avoid temperature swings that drop moisture onto a cold mold surface. A datalogger in the room is worth more than a handheld reading taken once a month.
Should injection mold components be removed before long-term storage?
Usually no. Leaving a mold assembled preserves the relationship between guide pins, bushings and slides, and it keeps the parting line square. Do retract the ejector system and return slides to rest, release stored energy, cap hydraulic ports, and bag or tape hot runner thermocouples and connectors. Only pull components that are normally shipped loose or that need their own preservative treatment.
How should an injection mold be stored vertically or horizontally?
Store it flat, lying on level support blocks placed under the tie-bar region and the heaviest plate. If floor space forces you to store a mold on edge, support the parting line so no weight loads the cavity faces, and never hang the load on the locating rings. Do not stack molds directly on one another without a dunnage layer, because the upper weight distorts the lower parting face over time.
What should be inspected before using a stored injection mold?
Check the humidity record for the whole storage period, then look at the cavity faces, parting line, guide pins, bushings, slides and ejector for rust, staining or insect debris. Confirm water lines are still clear, verify thermocouple and hot runner connections against your wiring note, and check springs and hydraulic rods for corrosion or seizure. Re-apply preservative and run a few purge shots before you make parts anyone pays for.
Start with the next mold that leaves the machine, not the one that has already been sitting for six months. Purge it, blow every water line until the air runs clean, wrap it in anti-rust paper with a desiccant pack inside, and write the card. Everything else on this page is a refinement of those four habits. If you want the longer view, our mold maintenance schedule guide covers what to do while the mold is still in service, and how to reduce injection molding cycle time covers the other end of the production schedule.