
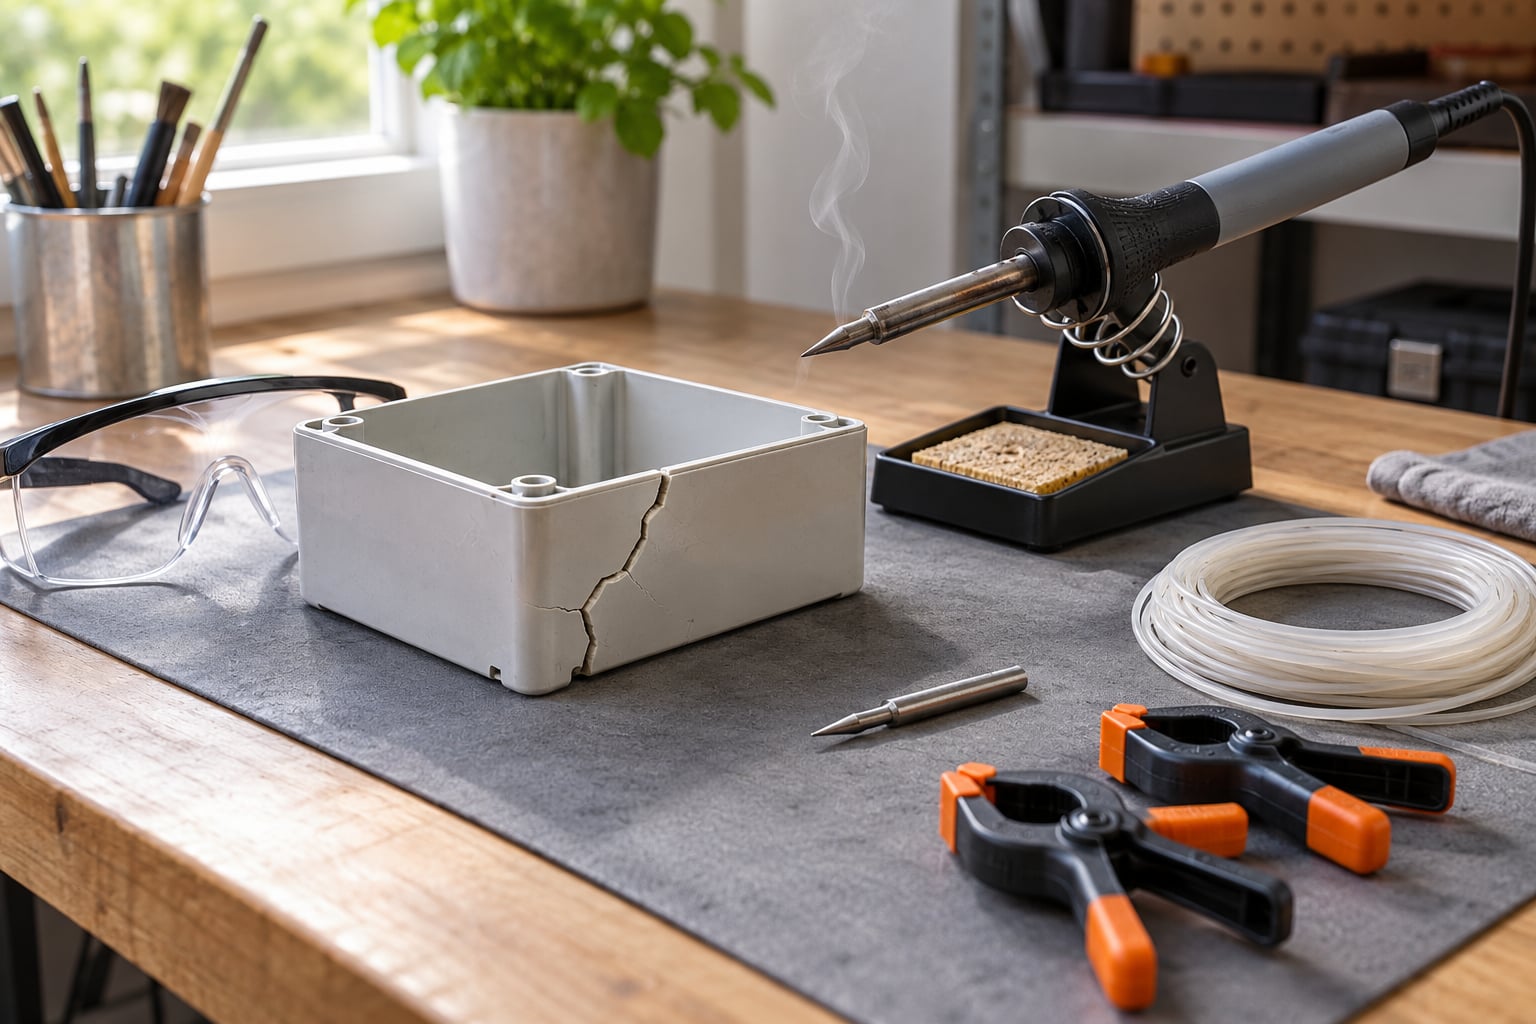
Yes, you can weld plastic with a soldering iron, and the same basic sequence handles most thin thermoplastics. The hot tip melts both surfaces along a crack or joint so the same polymer flows together, cools and hardens into one continuous piece. Match the filler to the base plastic, work on a heat-resistant surface, and keep the fumes moving with a fan or extraction arm.
That is different from soldering metal. Solder joins metal with a different, lower-melting filler that flows into a prepared gap. A soldering iron works on plastic by fusion: you melt the base material itself, press it into itself, and let it re-solidify. Nothing is added except optional reinforcement, which is why the joint looks like part of the original rather than a glued-on patch.
It is also different from a plastic welding gun. A hot-air plastic welder blows heated air across a seam and melts in place across a wide area, which suits production work on 3 mm and thicker sections. A soldering iron delivers heat through a small tip, so it is precise, cheap and portable, and it works best on thin walls, small enclosures, prototype parts and 3D prints. Anyone who has restored a cracked laptop shell or a garden container knows the technique. Below is the sequence that holds together, and where it stops being the right answer.
Table of Contents
- What You Need
- Step-by-Step: How to Weld Plastic with a Soldering Iron
- When to Use a Different Plastic-Welding Method
- Safety, Ventilation, and Material Control
- Frequently Asked Questions
- Can you use a regular soldering iron for plastic welding?
- Do I need a plastic welding rod, or can I melt the parts together?
- What temperature should a soldering iron be for plastic welding?
- Which plastics can be welded with a soldering iron?
- Is a plastic welding gun just a soldering iron?
- How strong is a plastic weld made with a soldering iron compared to glue?
- Conclusion
What You Need
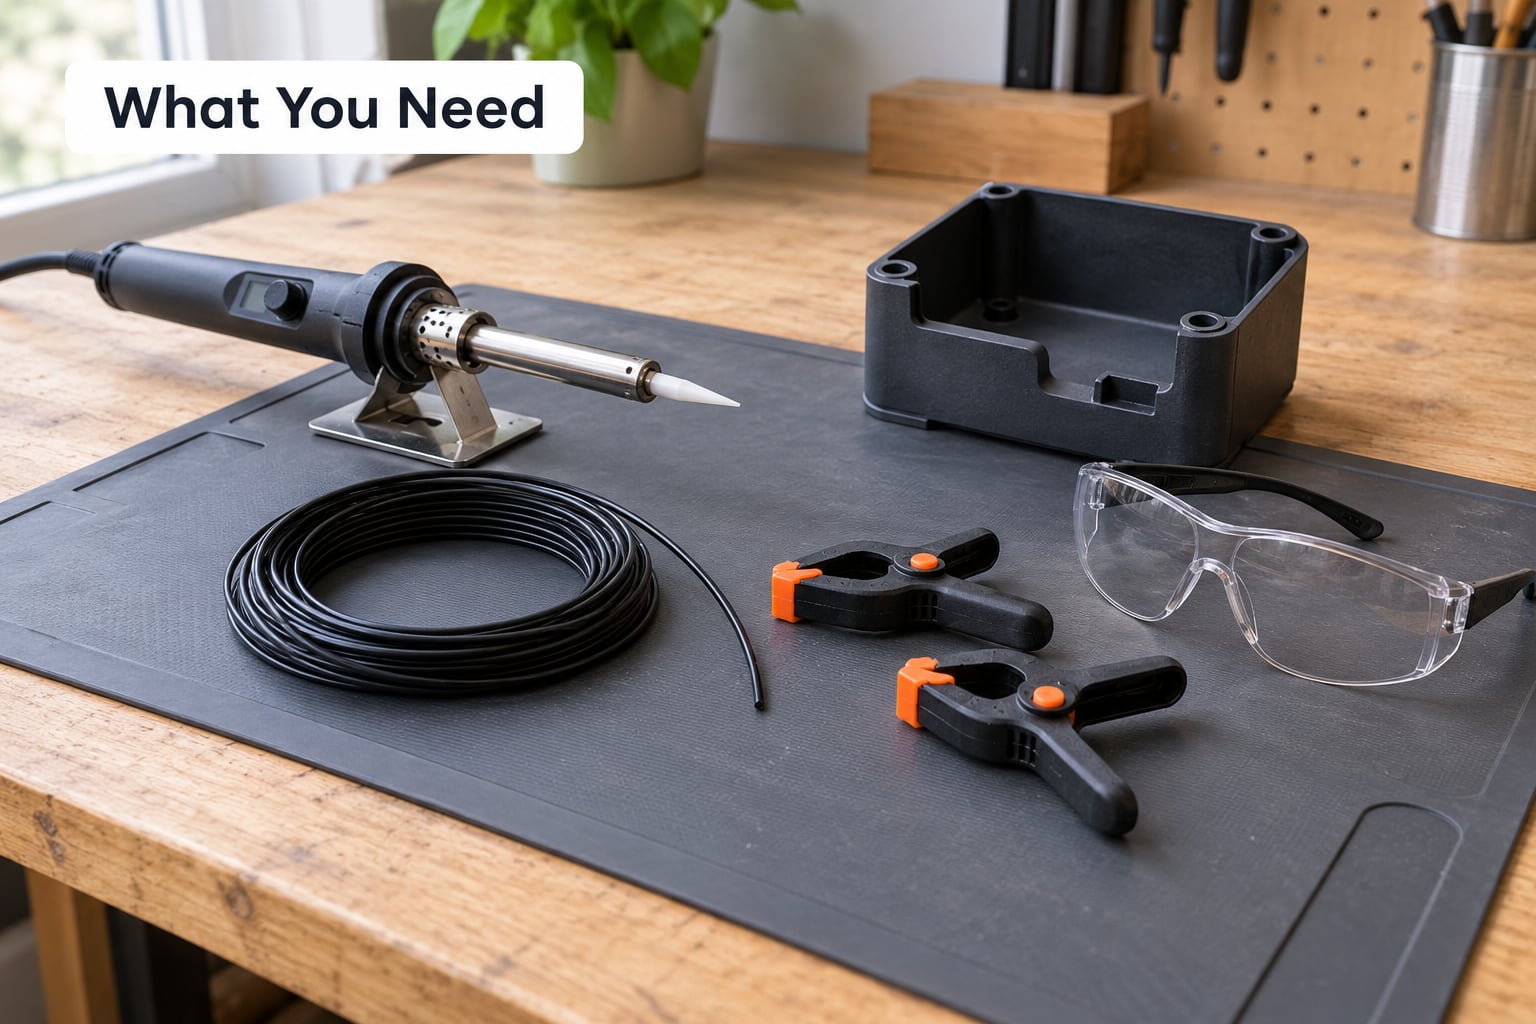
The short list is short because the iron does most of the work. Everything else exists to keep the heat controlled and the joint clean.
- A temperature-controlled soldering iron. Roughly 60 to 80 W covers most repair work. An 80 W iron with a modified carriage-bolt tip is a documented field setup for delivering molten plastic on thicker repairs. Fixed-temperature irons are workable on ABS and PVC but leave you no recovery room when a section runs cold.
- A tip suited to plastic. A pointed, chisel or knife-edge tip concentrates heat into a narrow line. A broad flat tip spreads the heat and melts too much at once. Keep one tip reserved for plastic, because molten polymer oxidises onto a tip and permanently ruins its plating, and electronics work needs a clean tip. Reheat the dedicated tip and wipe it on a scrap of the same plastic, or on brass wool, between jobs.
- A heat-resistant work surface. A silicone mat, a scrap of sheet steel or a tiled bench. You will be dripping molten plastic, and the repair needs to stay put while it cools.
- Filler rod or filler stock in the matching polymer. Rod is easiest for filling gaps and thickening a thin seam. If you have no rod, cut a small length from the broken-off tab of the part itself, which is the most reliable filler available.
- Cleaning supplies. Soap and warm water, 80 to 120 grit abrasives, a degreasing wipe and a brush to clear debris from the groove before heating.
- Clamps or tape to hold alignment. Anything that lets the joint drift will produce a repair that looks fine and then pulls apart.
- Safety gear: splash goggles, heat-resistant gloves for handling the part, and eye protection for trimming rod.
Three rules save most failed attempts: match the plastics, dedicate the tip, and ventilate. Everything that follows assumes those three are already handled.
Step-by-Step: How to Weld Plastic with a Soldering Iron
Step 1: Identify the Plastic and Choose a Compatible Welding Method
Start with the resin, not the tool. Thermoplastics soften and melt again, which is what makes fusion possible; thermosets such as phenolic and melamine, and heavily filled grades with a high glass or mineral content, will not fuse cleanly.
Look for a stamped or moulded identification symbol, usually on the inside of a housing or on the underside of a container. Letters 2, 4 and 5 in the triangle are polyethylene, polypropylene and polystyrene, and 7 covers polycarbonate, ABS, acrylic and nylon, so you may need a second test. Failing that, weldability behaves predictably enough to plan around.
| Plastic | Weldability with an iron | Typical tip setting | Note |
|---|---|---|---|
| ABS | Good | 230 to 280 °C | Melts through easily, so keep the tip moving |
| Polycarbonate (PC) | Good | 250 to 290 °C | Tough; overheating causes yellowing and brittleness |
| Nylon (PA) | Good | 250 to 290 °C | Absorbs moisture; dry the part first |
| PVC / CPVC | Good | around 275 °C | Decomposes early, so stay below scorching |
| Acrylic (PMMA) | Fair | 200 to 260 °C | Crisp, brittle edge; a fine tip helps |
| PET and PETG | Fair to good | 230 to 280 °C | Common in 3D prints and printed parts |
| PLA | Fair | 180 to 230 °C | Softens early, so heat is easy to overshoot |
| Polypropylene (PP) | Poor | around 300 °C | Surface oxidation resists bonding; a hot air gun helps |
| Polyethylene (PE, HDPE) | Poor | around 265 °C | Low surface energy; expect a weak seam |
| Thermosets, filled grades | Not weldable | n/a | Adhesive or mechanical fastening only |
Polyolefins are the exception worth planning around. PP and PE oxidise at the surface, and the oxidised skin stops the molten material fusing properly, so the repair looks like a weld but peels. If you have to repair them, scrub the joint with 120 grit to cut through the skin, and use a hot air gun to bring the section up to temperature between iron passes.
Step 2: Prepare the Parts and Joint
Wash the parts with soap and warm water and let them dry fully. Trapped moisture in a nylon or ABS part turns into steam at the joint and leaves voids you will find later.
Remove paint, oils and mould release from an area about 10 mm wider than the seam. A scratch-test on an unseen corner shows whether the coating comes off cleanly, and any coating under the weld will stop it adhering.
Choose the joint geometry before you heat anything. A butt joint with a shallow V-groove gives the strongest result because the molten material forms a fillet. A lap joint, where one piece overlaps another by 6 to 10 mm, is far more forgiving on thin walls and is the right choice for a shell or a panel. For a cracked part that still holds its shape, simply re-fuse the crack and bridge it with filler.
Clamp the parts in position now, before any heat. Push the overlap together with light hand pressure and check alignment from two angles. Once you start welding you are committed to the geometry, and a joint that drifts mid-weld pulls apart under load.
Step 3: Set the Soldering Iron Temperature
Most electronics irons sit below what polyolefins need, so test rather than assume. Heat the tip and touch it to an offcut of the same plastic. The right setting softens the plastic quickly enough for the tip to sink a millimetre or two without blackening the surface or producing smoke.
Judge the result rather than the dial. In practice, learning how to weld plastic with a soldering iron is mostly about reading the polymer in front of you. If the tip skates and the plastic barely marks, raise the temperature in small steps. If the offcut darkens, blisters or gives off a sharp smell, you are already too hot, and a lower setting plus slower travel will beat a hotter iron held in one place.
Step 4: Heat the Joint and Add the Filler
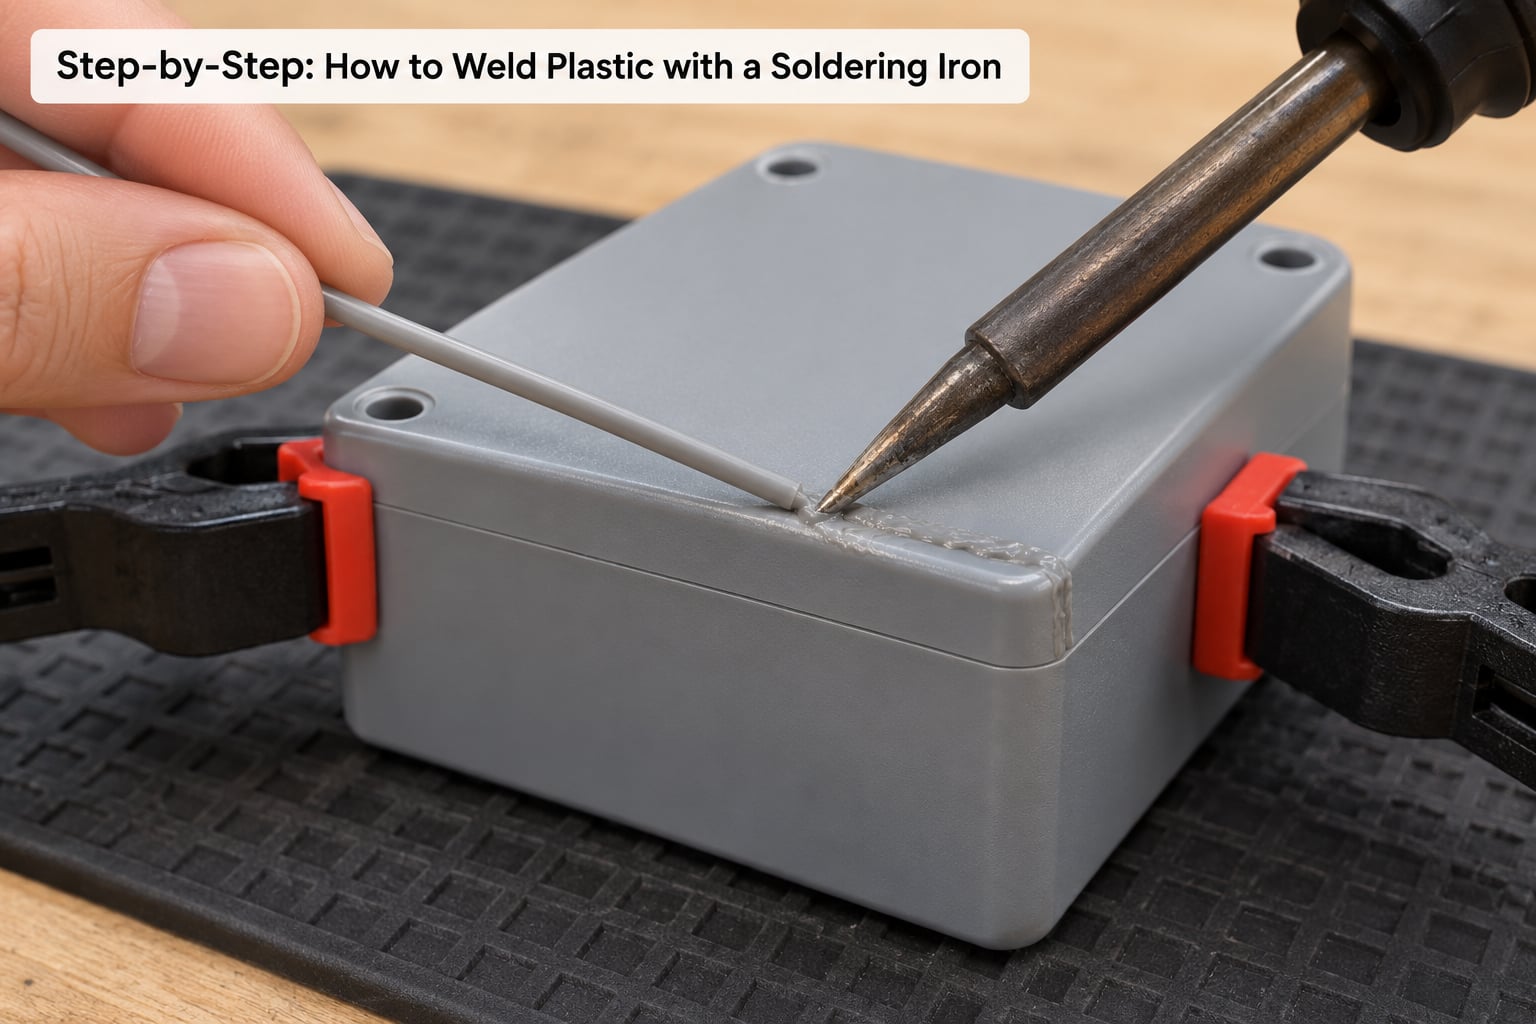
Tack first. Press the hot tip against one edge of the joint just long enough to soften it, then push the two parts together and hold until the plastic stops moving. Do two tacks, one near each end, and check the fit before committing.
Then work along the seam in short overlapping strokes rather than holding the tip in one spot. The molten pool needs to move with you so the material you lay down fuses into the material underneath it. Hold the joint at an angle that lets you see the bead as it forms.
Feed the matching rod into the pool, a few millimetres at a time. The rod softens, drops and blends into the bead. Push more rod into thin or gapped areas than feels necessary; the bead will shrink as it cools and will otherwise sit below the surface.
Build a slightly proud bead. A bead flush with the surface is hard to sand without thinning the section, and a raised bead can be shaped, filed and blended into the surrounding wall. Keep the assembly still while you work, because the part itself is often softer than the bead.
If the seam is short but load-bearing, reinforce it while the bead is still warm. Staples, fine wire or a strip of the part’s own plastic laid across the seam give the joint somewhere for stress to go other than the fused line. A cross-stitch pattern of short molten bridges between the two sides is the classic ABS panel repair, and it is what separates a cosmetic weld from one that holds.
Step 5: Cool, Inspect, and Test the Repair
Leave the part alone for at least five minutes. Pulling two halves apart before the bead has fully solidified causes the most common late failure, a joint that separates along the weld line with no visible fault.
Then inspect the bead. Look for voids and bubbles along the seam, for blackened or scorched areas that suggest overheating, for a bead that never reached the far edge, and for warpage where the wall has sunk. Fill any cold or thin section with another pass while the part is still warm and workable, and re-inspect.
Deburr the bead with 120 grit, finish with 180 and 320 grit, and blend it level with the surrounding surface. Paint or a solvent ink covers the bead afterwards if appearance matters.
Finally, test the repair for the job it will do. A non-structural enclosure needs a fit check and a gentle twist by hand. Anything that carries load deserves more: measure the part, then follow our step-by-step impact resistance testing so the joint is judged on the same footing as the original moulding.
Common Mistakes and How to Fix Them
- The plastic melts away instead of fusing. The tip is too hot or too wide. Drop the temperature, use a finer tip, and travel continuously so heat spreads along the seam rather than pooling in one place.
- The bead burns, bubbles or smokes. You are dwelling too long. Keep the stroke moving and reduce the temperature; scorched polymer no longer fuses, so the affected section has to be cut back to clean material.
- The joint looks fine but separates under load. Either the plastics differ, so the filler never bonded, or the joint is a cold butt with no overlap. Rework with matching filler, a fillet bead and reinforcement.
- Poor adhesion along the seam. Paint, release agent or a moisture layer under the weld. Strip the coating back past the bead width and clean and dry the parts again.
- The part deforms and shrinks. Too much heat in one pass on a thin wall, or cooling while it is still free to move. Use thinner sections, and clamp the part during cool-down.
- Thick sections will not fuse. The pool cools before the next stroke arrives. Heat input has to exceed what the section mass can absorb, so preheat the joint with a hot air gun and weld the warm section quickly, or use a plastic welding gun.
- Your electronics tip is ruined. The expected outcome of plastic on a shared tip. Re-tip the iron and keep a separate plastic tip from now on.
- Fumes and smoke. Stop and ventilate before continuing. See the safety section below.
When to Use a Different Plastic-Welding Method
A soldering iron is the right tool for thin-walled parts, small enclosures, prototypes, 3D prints and one-off repairs. It is the wrong tool when the section is thick, the joint is continuous along a long seam, or the part has to hold a real load in production.
- Hot-air plastic welding gun. Blows heated air at the seam and fuses a wide bead in place. It is the standard for anything from 3 mm upward, and for long seams on one part, because the whole bond line is heated at once instead of a millimetre at a time.
- Ultrasonic welding. For clean, repeatable joins on small moulded thermoplastic parts. It needs tooling and a press, and it will not fuse filled, glass-reinforced or printed parts reliably.
- Designed adhesive joint. Cyanoacrylate, epoxy and two-part structural adhesives reach higher loads than an iron weld on polyolefins, and they do not distort the part. Our adhesive selection guide for plastic assemblies covers choosing one for the resin and the load.
- Solvent cement. The right answer for pipe and fittings made from matching PVC or ABS, where the parts are designed to be dissolved and fused together.
If a repaired part has gone brittle and cloudy rather than flexible, the cause is usually moisture or thermal degradation rather than the joint itself. Our piece on what causes brittleness in plastic parts is worth reading before you weld a stressed part again.
Safety, Ventilation, and Material Control
Molten polymer gives off smoke and decomposition products, and the heavier ones are the irritating part. Work away from your face, with local extraction at the bench if you have it, and a fan as the minimum. The safety data sheet for the specific polymer is the right reference; many manufacturers point at national plastic fume guidance such as the UK HSE’s.
Wear splash goggles rather than relying on ordinary glasses. Keep a breathing mask within reach for anyone sensitive to fumes, and stop the moment the plastic darkens, because that is the moment decomposition products start forming rather than simple vapour.
Clear the bench before you start. The iron tip stays at working temperature for minutes after you set it down, and molten plastic on a benchtop is a burn hazard and a slip hazard. Let offcuts cool on the mat, then scrap them rather than dropping hot plastic into a bin where it welds itself to the liner.
Handle the part with gloves once it is hot. Thin ABS panels are easy to melt through and they stay soft enough to distort while cooling, so support the walls rather than holding them across the joint.
Frequently Asked Questions
Can you use a regular soldering iron for plastic welding?
Yes, for thin-walled thermoplastic parts. The tip melts both surfaces along the crack or joint, the molten plastic flows together, and it cools as one fused piece. It is less suited to thick sections, where the pool cools before the next stroke arrives, and it will not fuse thermosets, filled grades or polyolefins reliably.
Do I need a plastic welding rod, or can I melt the parts together?
Both work. Melting in place is enough for a fine crack or two pieces that already sit in contact. Rod or offcut filler becomes necessary when the seam is open, the joint is thin and hollow, or you need to build up a thicker bead, because the molten material shrinks as it cools. Matching filler always bonds better than a different polymer.
What temperature should a soldering iron be for plastic welding?
Most repair work sits between 230 and 290 degrees Celsius at the tip. ABS and polycarbonate work around 250 to 280, PVC near 275, and polypropylene needs closer to 300. Test on an offcut of the same plastic rather than trusting the dial: the tip should sink a millimetre or two without blackening the surface.
Which plastics can be welded with a soldering iron?
ABS, polycarbonate, nylon and PVC weld well, and acrylic, PET and PETG weld fairly well. Polypropylene and polyethylene weld poorly because their surface oxidises and resists bonding, so use a hot air gun to preheat the section. Phenolic, melamine and glass-filled grades do not fuse at all and need an adhesive or a mechanical fastener instead.
Is a plastic welding gun just a soldering iron?
No. A plastic welding gun blows heated air across the seam and melts a wide band of material in place, which is faster and stronger on anything from about 3 mm thick. A soldering iron conducts heat through a small tip, giving precise control on thin parts, small enclosures and prototypes. Many repair benches own both for exactly that reason.
How strong is a plastic weld made with a soldering iron compared to glue?
On matching ABS, polycarbonate or PVC the fused bead is as strong as the surrounding material and usually outperforms an adhesive on a stress concentration, because the load is carried across the bead rather than along a thin glue line. On polyolefins it is generally weaker than a mechanical fastener. Fusing also leaves the part cosmetically rough, which is a real cost on visible surfaces.
Conclusion
Identify the plastic first, then test your temperature on an offcut, cut a clean overlap, clamp it, and make one small controlled pass. That sequence takes a few minutes and it is the difference between a repair that survives handling and one that fails the first time the part is flexed.
Reach for a soldering iron on thin housings, prototypes and printed parts. Move up to a hot-air plastic welding gun for thick sections and long seams, and to a designed adhesive joint when the load is structural or the resin is a polyolefin. If the part has already started to crack around the damage, read up on what causes brittleness in plastic parts before welding it again.